That first hiss from the cooker tells you something good is happening. You feel that little vibration, like the cooker’s waking up and getting ready. It’s a signal you started cooking on the right foot, and the smells already start creeping through your kitchen.
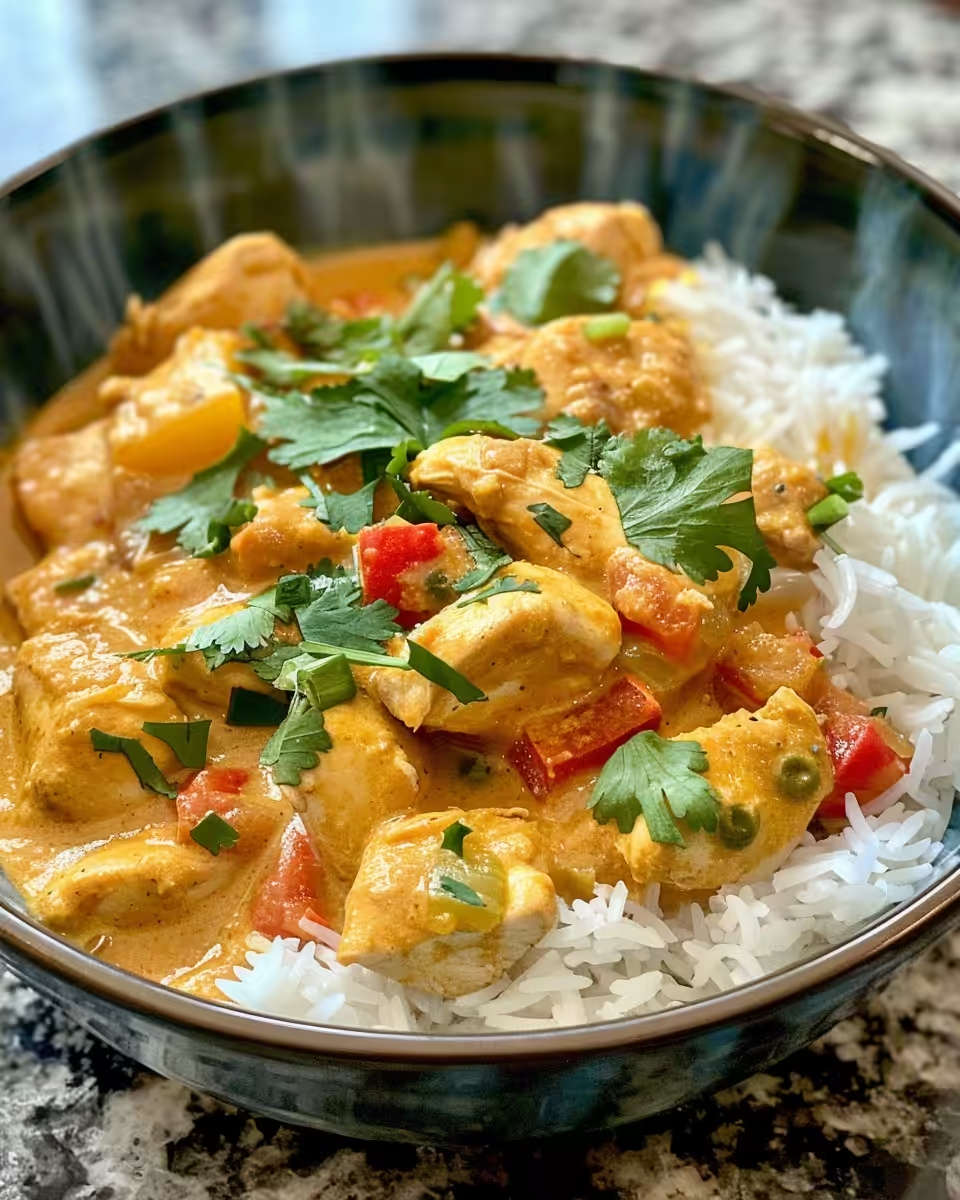
When you hear that valve hiss, it’s like the countdown to dinner has begun. You catch a whiff of garlic, ginger, and spicy curry melding together. If you’re anything like me, you’re already picturing sitting down with a bowl full of cozy, tender chicken and rich coconut broth.
Watching the valve do its thing kinda gives you a little calm while the cooker does all the heavy lifting. You recall all the times waiting forever without this gadget and appreciate how quick the tender pull from the chicken’s gonna be. It’s just the start of something tasty.
The Truth About Fast Tender Results
- The pressure cooker locks in heat and steam so your chicken gets tender super fast. You can learn more about tender chicken recipes that balance flavors perfectly.
- That steam builds a deep broth depth you just can’t get from slow cooking.
- You get that quick release moment when you open the lid and fresh smells burst out.
- Less time means veggies stay bright and chicken stays juicy without drying out. For different cooking techniques, check our Enchilada Pasta tips.
- The sealed environment concentrates spices better making the curry extra flavorful.
- No babysitting the stove lets you get other stuff done while it cooks.
Everything You Need Lined Up
- 3 tablespoons coconut oil split in two parts for cooking and sautéing.
- Half a medium yellow onion diced fine about half a cup.
- 3 cloves garlic minced for that punchy flavor.
- 2 tablespoons fresh ginger minced to add a zingy brightness.
- 2 teaspoons yellow curry powder for that warm curry base.
- 3 tablespoons red curry paste, like Thai Kitchen, adjust for how spicy you wanna go.
- 2 teaspoons ground coriander to add earthy notes to the curry.
- A big red bell pepper sliced up for sweetness and crunch.
- 1 pound boneless skinless chicken, cut into inch-sized pieces, thighs or breasts work great.
- One full can of coconut milk, the rich full-fat kind, not lite, makes all the difference.
How It All Comes Together Step by Step
First, you heat up a tablespoon of coconut oil in the pot over medium heat. Toss in your diced onion and let it soften for about 3-4 minutes. You gotta get it just right so it’s sweet and translucent but not brown.
Next up, stir in minced garlic and ginger. Cook it for just about a minute so it wakes up your nose without burning. The kitchen fills with that warm spicy scent that already makes you wanna dive in.
Then pop in the curry powder, red curry paste, and ground coriander. Keep stirring for another minute so everything blends nice and real deep. You’re layering flavors here that’ll shine later.
Push those tasty aromatics to the side and add the rest of your coconut oil. Time to add chicken pieces, sprinkle salt and pepper, and sauté them until they lose all that raw pink color. About 5 to 7 minutes will do.
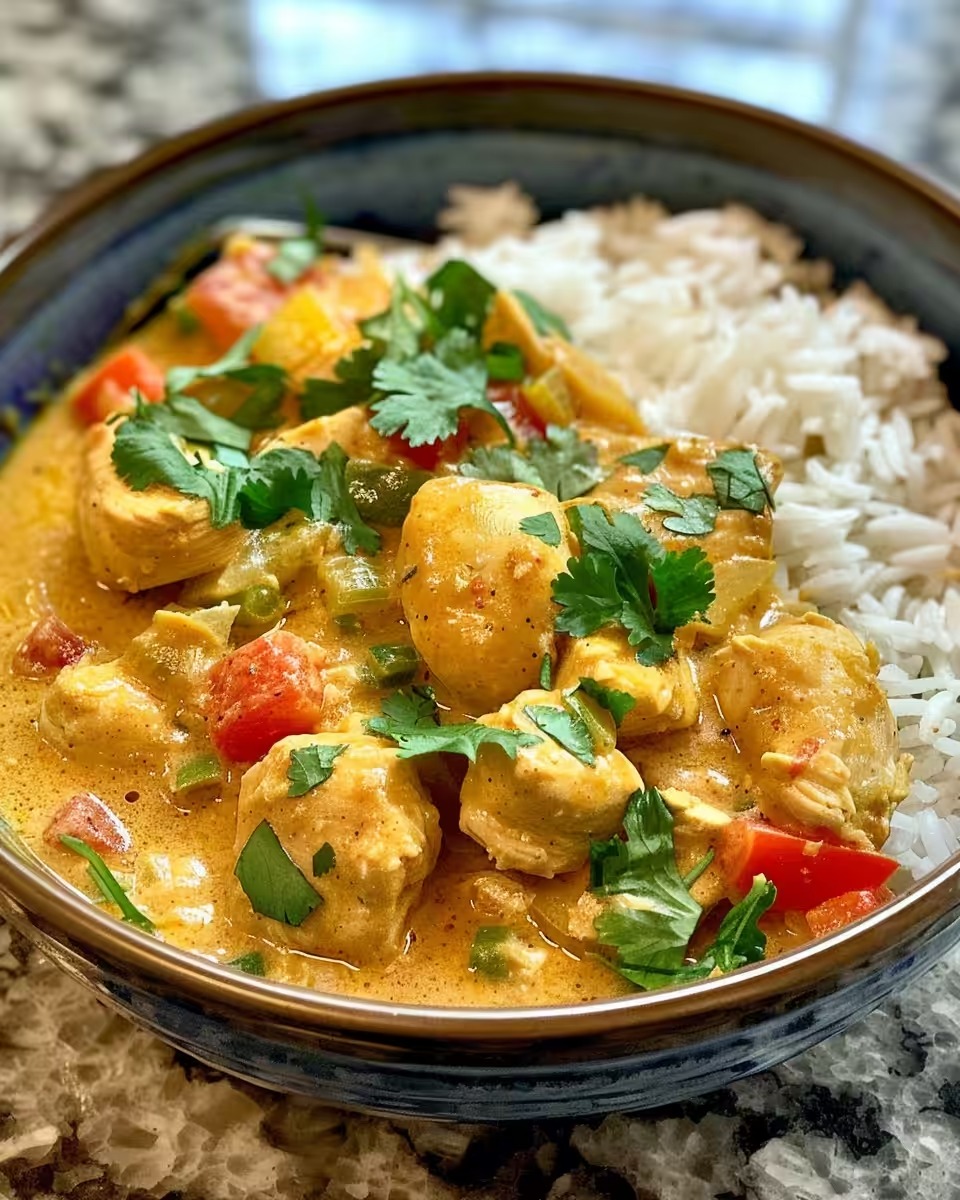
After that, toss in your red bell pepper chunks, stir to mix all the pieces around. Pour in the coconut milk next. It’s gonna make the sauce creamy and rich. Don’t forget to add chicken broth, this helps with that broth depth you love. Give it a good stir.
Seal the lid, bring the pot to boil then let it cook under pressure for about 18 minutes. When done, do a quick release so you catch the steam while it’s fresh. After opening, fluff it up and garnish with cilantro or basil, a squeeze of lime juice. You’re set for real good eats.
Valve Hacks You Need to Know
- Want a faster meal? Go for a quick release to stop cooking right after time’s up.
- If you want meat extra tender, slow release helps keep juices locked in longer.
- Keep a towel handy when you do quick release, the steam can surprise you.
- Listening to the valve hiss tells you the cooker’s on track, so don’t freak if it sounds loud now and then.
- Practice controlling the valve speed—start slow for delicate veggies, faster for meat tough spots.
That First Bite Moment
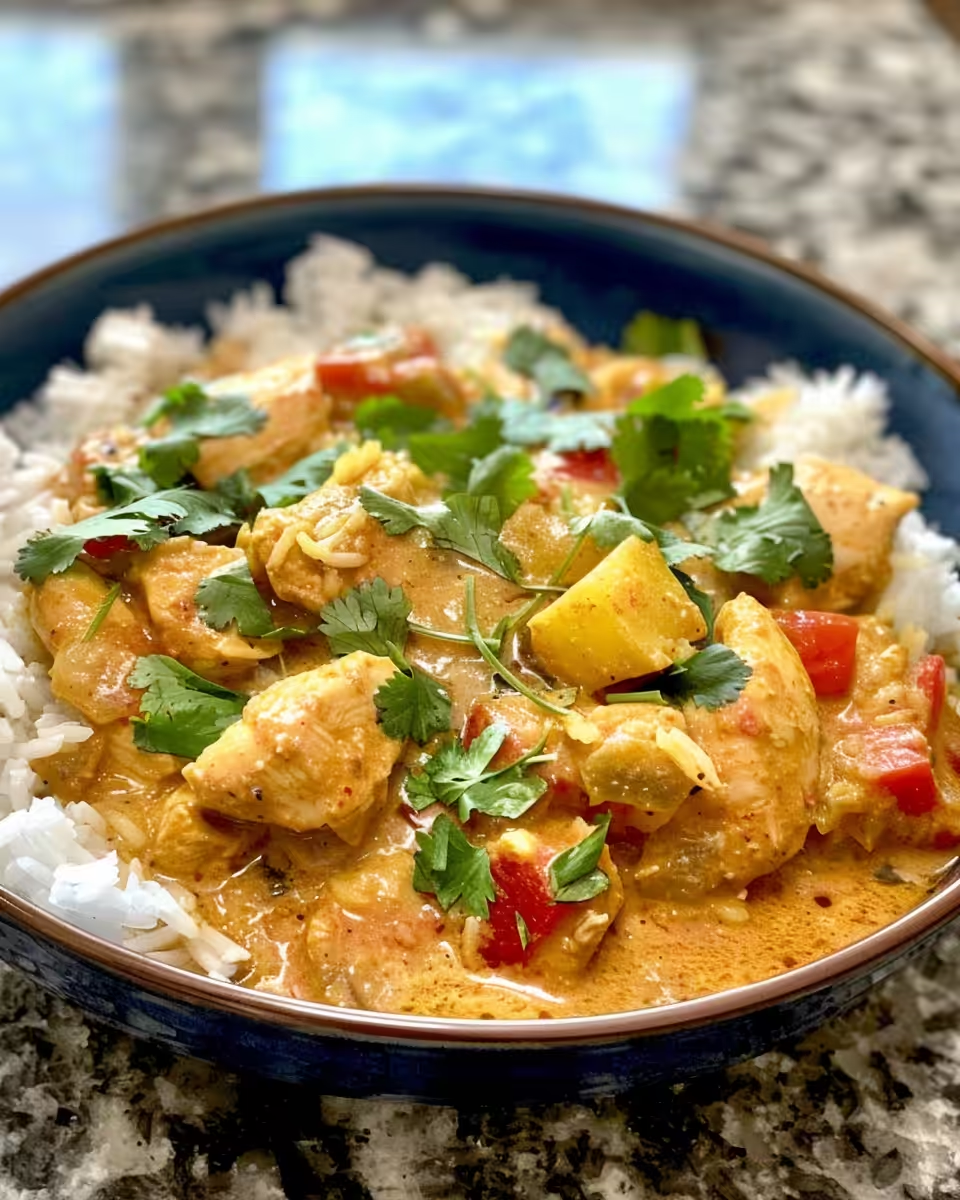
You catch that first bite where the tender chicken hits your tongue, and it’s so soft it nearly melts away. The curry sauce is creamy and rich, with that perfect balance of sweet heat and earthy spices.
As you chew, the coconut milk’s depth wraps around the tongue warm and comforting. The red bell peppers add tiny bursts of freshness every now and then. It’s like your taste buds take a little tropical vacation.
That squeeze of lime on top sings bright and lifts the whole dish. You keep eating, savoring each spoonful like it’s a little gift you made happen fast in your cooker. Gotta admit you kinda feel proud of how awesome it turned out.
How to Store This for Later
After dinner, you wanna keep those curry vibes going. Store leftovers in an airtight container so the chicken stays juicy and the spices keep their punch. Fridge life’s good for about 3 to 4 days.
If you wanna freeze it, portion it out before chilling. Use freezer-safe bags or containers and it’ll hang in there for a couple months. Just thaw overnight in the fridge and heat gently on the stove or microwave.
Reheating? Do it slow and low to keep the creamy sauce from separating. Adding a splash of coconut milk or broth when warming up keeps the texture smooth and luscious like day one.
What People Always Ask Me
- Can I use chicken thighs instead of breasts? Yeah, thighs work real good. They stay juicy and tender even if you overcook a bit. See also our balsamic chicken recipe which also uses thighs nicely.
- Is this curry super spicy? That depends on your red curry paste. You can dial it down or up. I like mine balanced but you gotta tweak it your way.
- Do I have to use full-fat coconut milk? For best creaminess and broth depth, yes. Lite versions are thinner and don’t give you that same richness.
- Can I make this without the pressure cooker? Sure, but it’ll take longer and the chicken might not get that same tender pull. It’s still tasty though!
- What’s a good side to serve with this? Rice is classic but jasmine or basmati work great. You can also try naan bread or a simple salad to keep things fresh.
- How do I adjust spice levels easily? Start with less red curry paste and add more after cooking if you want more heat. You can toss in fresh chili slices too for a kick.
Coconut Curry Chicken Pressure Cooker Recipe
Equipment
- 1 Pressure cooker
Ingredients
Main Ingredients
- 3 tablespoons coconut oil divided in two parts
- 0.5 medium yellow onion diced fine
- 3 cloves garlic minced
- 2 tablespoons fresh ginger minced
- 2 teaspoons yellow curry powder
- 3 tablespoons red curry paste adjust to taste
- 2 teaspoons ground coriander
- 1 red bell pepper sliced
- 1 pound boneless skinless chicken cut into 1-inch pieces
- 1 can coconut milk full-fat, 13.5 oz
- 1 lime
- 1-2 tablespoons brown sugar to taste
- 2 teaspoons fish sauce optional
- 0.25 cup cilantro and/or basil diced
- salt and pepper to taste
- chopped peanuts or cashews optional for garnish
- cooked rice or naan for serving
Instructions
Instructions
- Heat 1 tablespoon of coconut oil in the pot over medium heat. Add the diced onion and sauté for 3–4 minutes until soft and translucent.
- Stir in the minced garlic and fresh ginger. Cook for about 1 minute until fragrant.
- Add the yellow curry powder, red curry paste, and ground coriander. Cook for 1 minute while stirring to blend flavors.
- Push aromatics to the side, add remaining coconut oil, then add chicken pieces. Season with salt and pepper and sauté for 5–7 minutes until no longer pink.
- Add red bell pepper slices to the pot and stir to combine.
- Pour in the coconut milk and stir together with the contents of the pot.
- Optionally, add lime juice, brown sugar, and fish sauce. Adjust to taste.
- Seal the lid, bring to pressure and cook for 18 minutes.
- Use quick release and open lid carefully.
- Fluff and garnish with chopped cilantro or basil and a squeeze of lime juice.
- Serve hot over rice or with naan bread. Optional garnish with nuts if desired.