The pressure builds and you start counting down minutes until you eat. You put those eggs in the pressure cooker, feeling excited but a little anxious about getting that perfect boil. It’s always a bit nerve wracking, y’all know what I mean? Will the eggs steam just right or end up overcooked? Yeah, that’s the kind of tension you get around my kitchen when these deviled eggs are on deck.
You hear the gentle hiss from the float valve popping up as the pressure rises, the sealing ring doing its job tight. You glance at the cooker and try not to obsessively poke the lid. The seconds tick by slower than usual, but that’s okay. You remember this pressure cooking trick actually helps you nail egg boil perfection fast, with less fuss than the stove method.
Then comes the best part the natural release time. You let the pressure come down on its own, no quick release here because you don’t wanna risk cracked eggs. You sense the steam fade and hear the final pop of the float valve falling. Your patience pays off and you know soon you’ll be slicing into yolks that are perfectly set yet creamy, just begging to be turned into those rich, tasty deviled eggs everybody loves.
The Real Reasons You Will Love This Method
- Perfectly cooked eggs every dang time with no green ring around yolks
- Hands off cooking after sealing the lid, freeing you to get other stuff done
- Natural release keeps eggs from cracking from sudden pressure changes
- Broth depth inside the cooker is just right to gently steam, no dunking messy eggs in boiling water
- Fast cook time so you’re not waiting forever to make your appetizer
- Less cleanup than traditional boiling, no stove pot filled with hot water
- Float valve gives you a clear sign when pressure is up and done
What Goes Into the Pot Today
- 12 large eggs. You wanna pick ones that aren’t too fresh or they’ll be harder to peel later. A few-day-old eggs are the best for this recipe.
- ¼ cup mayo for that creamy texture that makes these deviled eggs stand out from basic ones.
- 1 tablespoon butter, softened so it blends nice with your other ingredients. Nothing melts better in the yolk mix.
- 2 teaspoons yellow mustard and 2 teaspoons dijon mustard. A combo gives a little something extra punch without overpowering.
- 2 teaspoons sweet gherkin pickle juice. It adds a subtle tang that makes you go mmm.
- 1 teaspoon sugar to balance out all that savory and tanginess.
- ⅛ teaspoon salt and ⅛ teaspoon pepper to season just right. Don’t skip these or your filling’ll fall flat.
- Dash Tabasco sauce, totally optional but it gives a nice little kick if you like it spicy. You can skip it if you’re feeding kids or sensitive eaters.
- Paprika for sprinkling on top after you fill the eggs, plus bacon pieces if you wanna get extra fancy.
The Full Pressure Cooker Journey
Start by placing your eggs in the pressure cooker basket or on a trivet so they're not sitting directly in water. Pour in about 1 cup of water ensuring the broth depth hits the minimum needed but not so much that eggs risk being soggy.
Lock the lid and make sure the sealing ring is seated properly. Set the valve to sealing position. Pressure cook on high for 5 minutes. Yeah, just 5 for perfect hard boiled eggs inside.
When the timer beeps, resist temptation to quick release. You want a natural release for 10 minutes to keep the eggs in gentle steam and prevent cracking. This is the secret to smooth peel.
After 10 minutes, you can quick release any remaining pressure by switching the valve to venting carefully. Float valve will drop to signal safety.
Immediately plunge the eggs into an ice bath to stop cooking and make peeling easier. Let 'em chill for about 5 minutes.
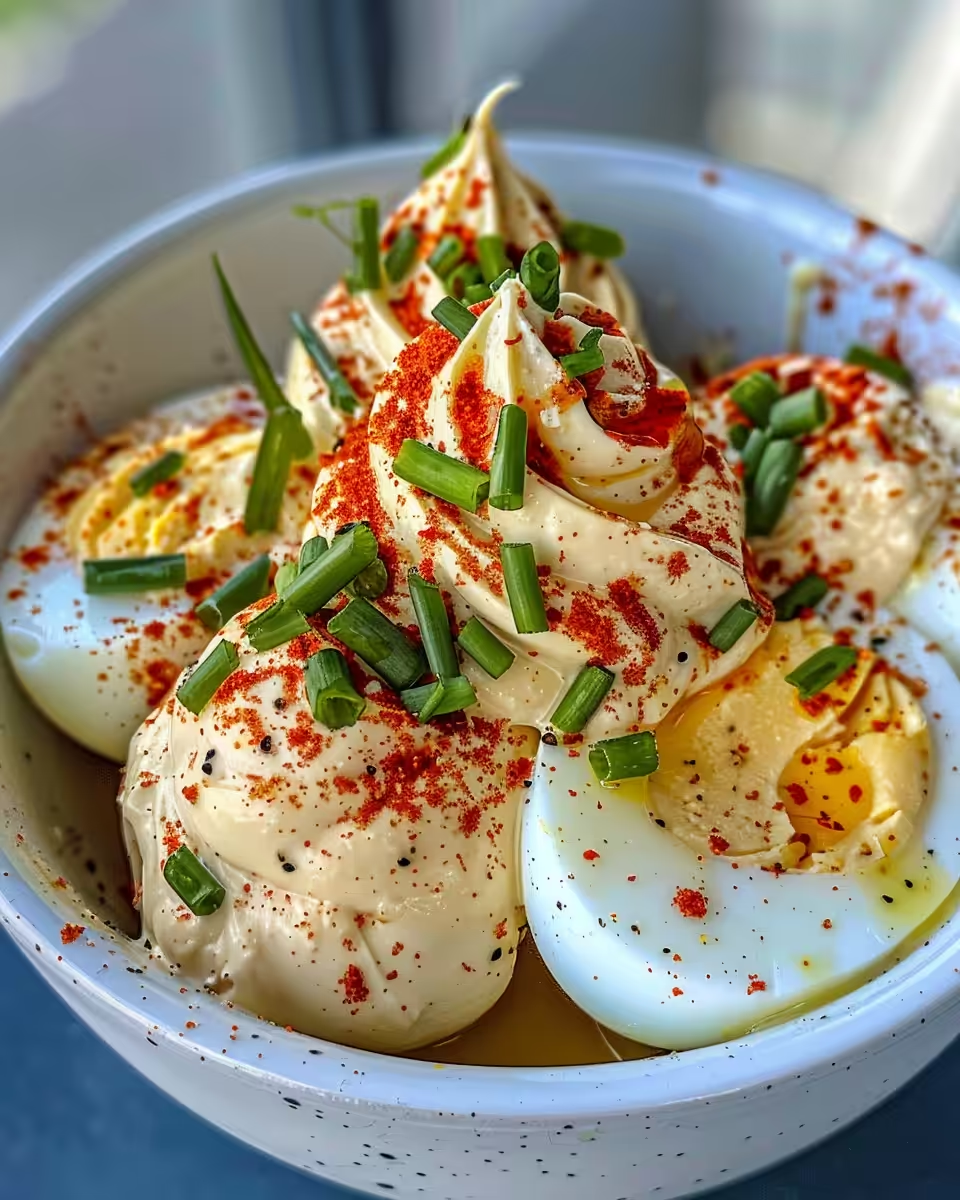
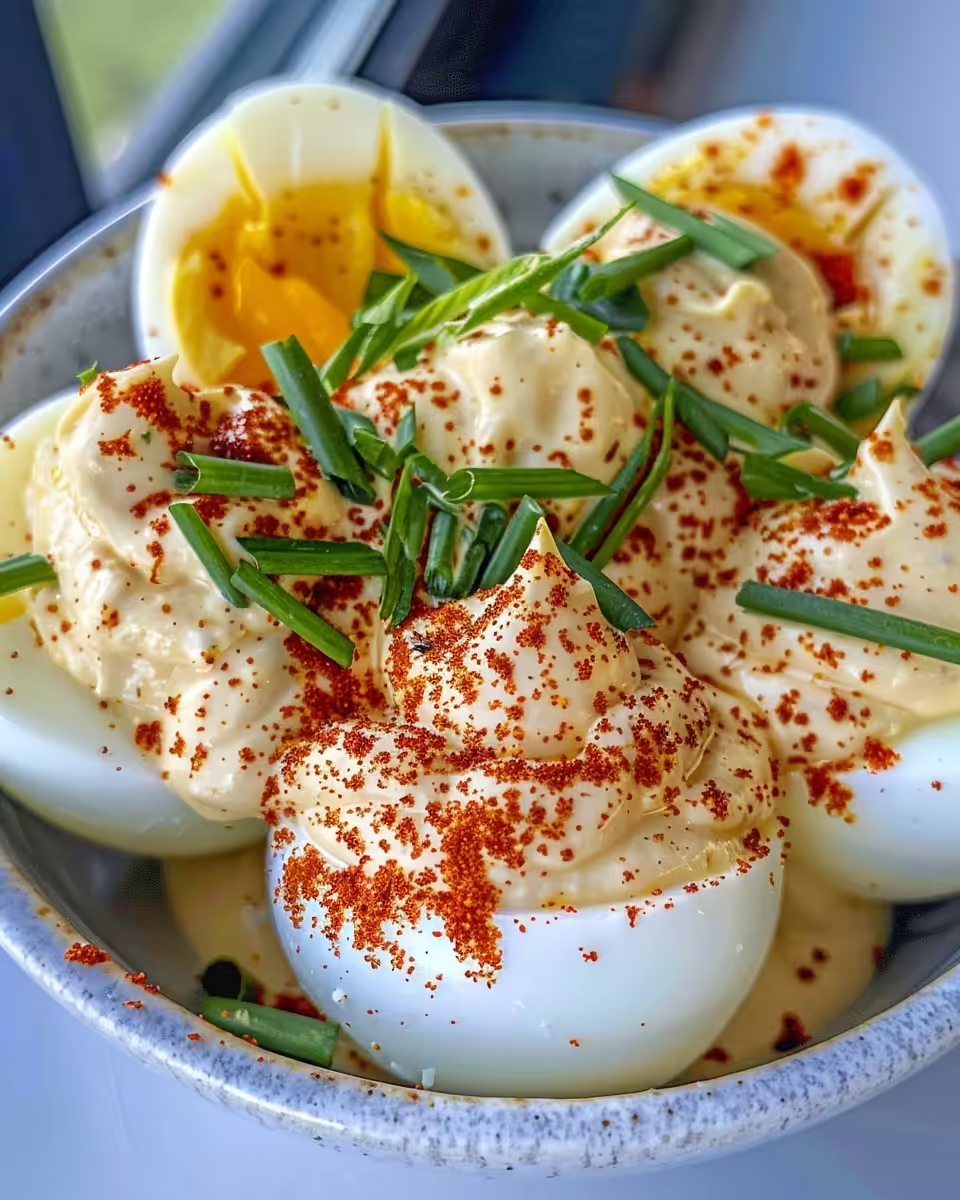
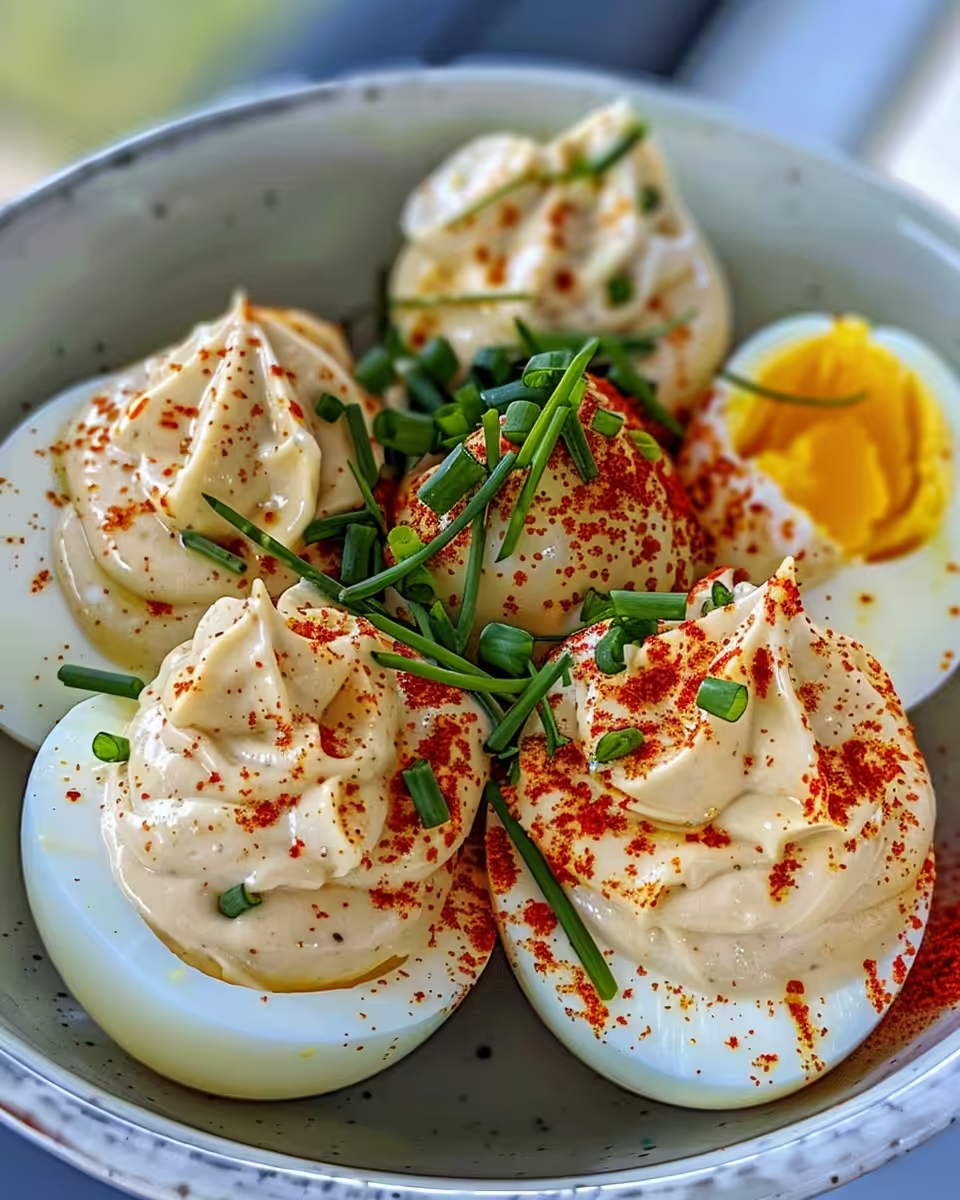
Peel your eggs gently, slice in half lengthwise, and scoop out the yolks into a bowl. Mash yolks with mayo, butter, both mustards, pickle juice, sugar, salt, pepper, and optional Tabasco. Mix until creamy and smooth. Then spoon or pipe that luscious mixture back into egg white halves. Sprinkle with paprika and if you have bacon bits, toss some on top. Chill 'em a bit before serving and watch them disappear quick.
Time Savers That Actually Work
- You can prep the filling earlier in the day and keep it chilled until eggs are ready. Saves you frantic mixing right before guests arrive. Check out our tips on kitchen prep time savers for more efficiency.
- Using a piping bag or even a zip-top bag with the corner snipped makes filling go faster and look prettier. Our guide to piping bags and cooking tools covers this well.
- Ice bath ready while pressure cooker does its thing means no waiting to cool eggs later.
- Peeling eggs under running cold water loosens the shells and speeds up peeling. You might also like easy peeling hard boiled eggs techniques.
- Pre-crack eggs gently on a hard surface before peeling so shell slips off easier. Just don’t mash the whites.
When You Finally Get to Eat
That first bite of these Million Dollar Deviled Eggs is a creamy burst of all the flavors blending beautifully — tangy mustard, smooth mayo, the unexpected sweet pickle juice, and if you added Tabasco, a little heat warming the back of your throat. You feel the buttery richness melt softly across your tongue.
The texture is so smooth yet with a little firm bite from the whites that balances out perfect. You get those smoky bacon bits crunching if you went that route. It’s a party in your mouth kinda moment. If you want other amazing party appetizers, be sure to check our best party appetizers collection.
You sense how much care went into cooking those eggs just right in that pressure cooker. No dry or super hard yolks here, only creamy goodness you only get from this method.
Plus, they look dang pretty too with a sprinkle of paprika giving a gentle color pop on each half. Trust me, nobody will believe how easy these were to whip up.
Smart Storage That Actually Works
If you got leftovers, store the deviled eggs in an airtight container lined with a damp paper towel. This keeps the egg whites from drying out during fridge time. Gotta keep that texture nice.
The yolk filling can firm up in fridge so best served within 24 hours for peak creaminess. If you need longer storage, consider keeping eggs and filling separate until serving. For more ideas on storing cooked eggs, see our full guide.
Transporting these beauties to a party? Use an egg carrier or a container with egg slots to keep 'em from shifting and getting messy. You’ll thank me later when they arrive intact and looking fresh.
The FAQ Section You Actually Need
- Can I quick release straight after cooking instead of natural release?
Not really. Quick release can cause shells to crack or yolks to dry out. Natural release lets eggs finish gentle cooking and keeps 'em perfect. - What if my pressure cooker doesn’t have a float valve?
Some older models miss that feature. You just gotta watch timer and be super careful releasing pressure slowly. Use a towel for safety. - How do I get easy peeling every time?
Older eggs peel way easier. Also, the ice bath right after cooking helps shells slip off nice and neat. - Can I add other flavors to the filling?
Sure thing. Try chopped herbs, green onions, or swap Tabasco for sriracha if you want different heat. Just keep mayo and mustard base consistent for balance. - Do I have to use both yellow and dijon mustards?
Nope, but mixing gives a little complexity to flavor. If you only got one, just use more of that mustard and it’ll still be yum. - Is the broth depth important?
It really is. Too little water and you might get uneven cooking. Too much and eggs sit soggy. About an inch or a cup of water inside usually hits the spot.
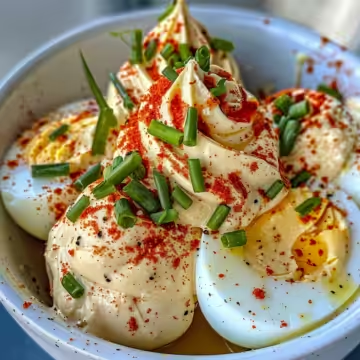
Million Dollar Deviled Eggs: Pressure Cooker Style
Equipment
- 1 Pressure cooker
- 1 Mixing bowl for mashing yolks
- 1 Ice bath to stop the cooking process
Ingredients
Main ingredients
- 12 large Eggs not too fresh, best if a few days old
- ¼ cup Mayo for creamy texture
- 1 tablespoon Butter softened
- 2 teaspoons Yellow mustard for punch
- 2 teaspoons Dijon mustard for extra punch
- 2 teaspoons Sweet gherkin pickle juice for a subtle tang
- 1 teaspoon Sugar to balance savory and tanginess
- ⅛ teaspoon Salt to season
- ⅛ teaspoon Pepper to season
- Dash Tabasco sauce optional, for a little kick
- Paprika for sprinkling on top
- Bacon pieces optional
Instructions
Instructions
- Place your eggs in the pressure cooker basket or on a trivet. Pour in about 1 cup of water.
- Lock the lid and set the valve to sealing position. Pressure cook on high for 5 minutes.
- After 5 minutes, allow for a natural release for 10 minutes.
- Quick release any remaining pressure and plunge eggs into an ice bath for 5 minutes.
- Peel eggs, slice in half lengthwise, and scoop yolks into a bowl.
- Mash yolks with mayo, butter, mustards, pickle juice, sugar, salt, pepper, and Tabasco.
- Spoon or pipe the mixture back into egg whites. Sprinkle with paprika and bacon bits.