The pressure builds and you start counting down minutes until you eat. You can almost smell the sweet tang of the orange zest mixing with those plump raisins as the tinfoil-wrapped pot seals tight. That little hiss from the valve lets you know you're on track and dang, it gets your stomach rumbling quick.
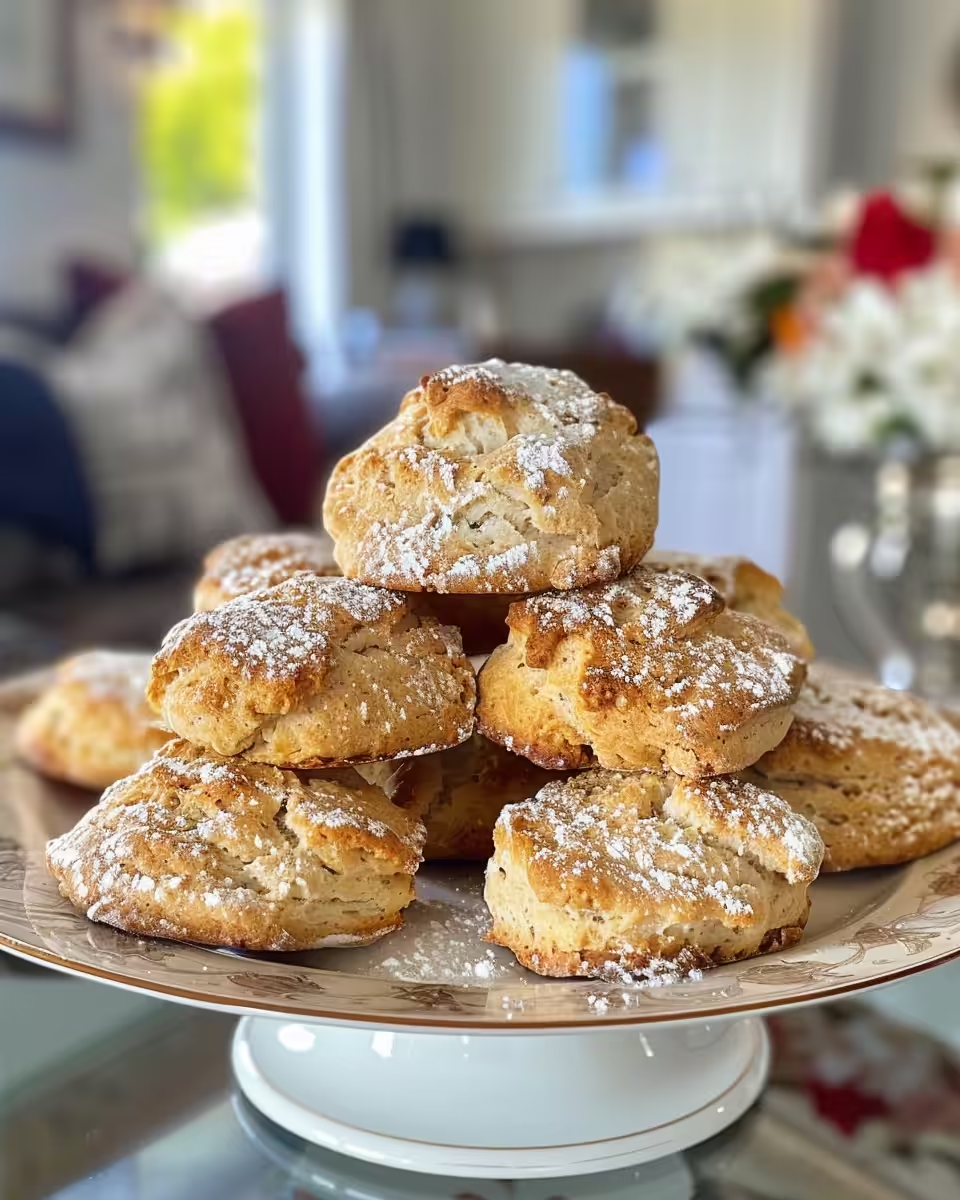
Waiting for the natural release is kinda like watching paint dry but better because you know what’s coming. You catch yourself glancing at the cooker like it holds the promise of fresh, buttery scones right about now. The tender pull of the scone dough is still fresh in your mind from shaping it just a bit ago.
You remember mixing buttermilk and vanilla, trying not to overwork the dough so it'll stay fluffy inside. That slow release of pressure is mellow, gentle, making sure the scones don’t go hard or dry out. When you finally crack open the lid, the warm aroma hits you in the face and your day instantly gets a little brighter.
Why Your Cooker Beats Every Other Pot
- It traps steam evenly so your scones come out moist and tender every time.
- The quick release option gives you control to stop cooking right when you want.
- Natural release lets flavors settle in real good without dryin’ out your scones.
- You don’t gotta stand watchin’ over it, freeing you up for your other kitchen moves.
- The valve hiss acting as your timer is kinda like cooking ASMR—soothing and helpful.
- Pressure cookers keep your kitchen cooler than an oven baking for 25 minutes.
- They work faster, so you enjoy fresh-baked treats sooner than long oven bakes.
What Goes Into the Pot Today
- 2 cups all-purpose flour
- 2 teaspoons baking powder
- ¼ teaspoon baking soda
- 5 tablespoons sugar
- ½ teaspoon salt
- 1 stick cold butter
- ½ cup raisins
- 1 teaspoon orange zest
- 1 cup buttermilk plus 1 tablespoon
- 1 teaspoon vanilla extract
Each of these ingredients works together to create that classic Irish soda bread flavor you’re craving. The cold butter gets cut in to form little crumbly bits that melt in your mouth later. Raisins bring the sweet chew while orange zest adds a subtle citrus kick that wakes up your taste buds.
Buttermilk keeps the texture moist and tender, and vanilla extract plays a small but sneaky role to round out the flavors. You gotta mix everything gently to keep the dough from getting tough. It’s all about that tender pull when you finally taste these scones fresh outta the cooker.
The Exact Process From Start to Finish
Step one, you mix all the dry stuff in a big bowl: flour, baking powder, baking soda, sugar, and salt. Make sure you blend ‘em well so the scones rise nice and even.
Then cut in your cold butter. This part is fun but gotta be quick so the butter stays cold and your mixture looks crumbly like coarse crumbs. Some chunks are okay—those pockets gonna melt later.
Next you stir in those plump raisins and zingy orange zest. That’s the flavor bomb right there. Pour in your buttermilk plus a splash of vanilla extract, then mix till just combined. Resist the urge to overmix or you’ll lose fluffiness.
You turn this dough onto a floured surface and knead gently, just about a minute. Then pat it into a circle around 1 inch thick. Cut into wedges or rounds, whichever you fancy.
Line your baking sheet with parchment paper and place the scones just like a little family. Preheat the oven to 375°F but here’s where your pressure cooker kicks in: pop these babies inside wrapped on a trivet or with a baking rack on top of some water.
Cook till your valve hisses then wait for that slow natural release. Once done, the scones should be golden and start to smell dang good. Let ‘em cool a bit so they’re easier to handle and get ready for that tender, warm bite.
Quick Tricks That Save Your Time
- Freeze your butter stick ahead and grate it instead of cutting cold chunks—it works real good and mixes faster.
- Use pre-zested orange peel if you’re rushing but fresh zest always tastes better, you can keep it in a fridge jar.
- Mix dry ingredients the night before and store in an airtight container, so you just add wet stuff when ready.
- Line your baking sheet with parchment paper before starting to save cleanup time—you’ll thank yourself later.
- Use the quick release function if you're in a pinch, but be careful about scones puffing up too fast.
The Flavor Experience Waiting for You
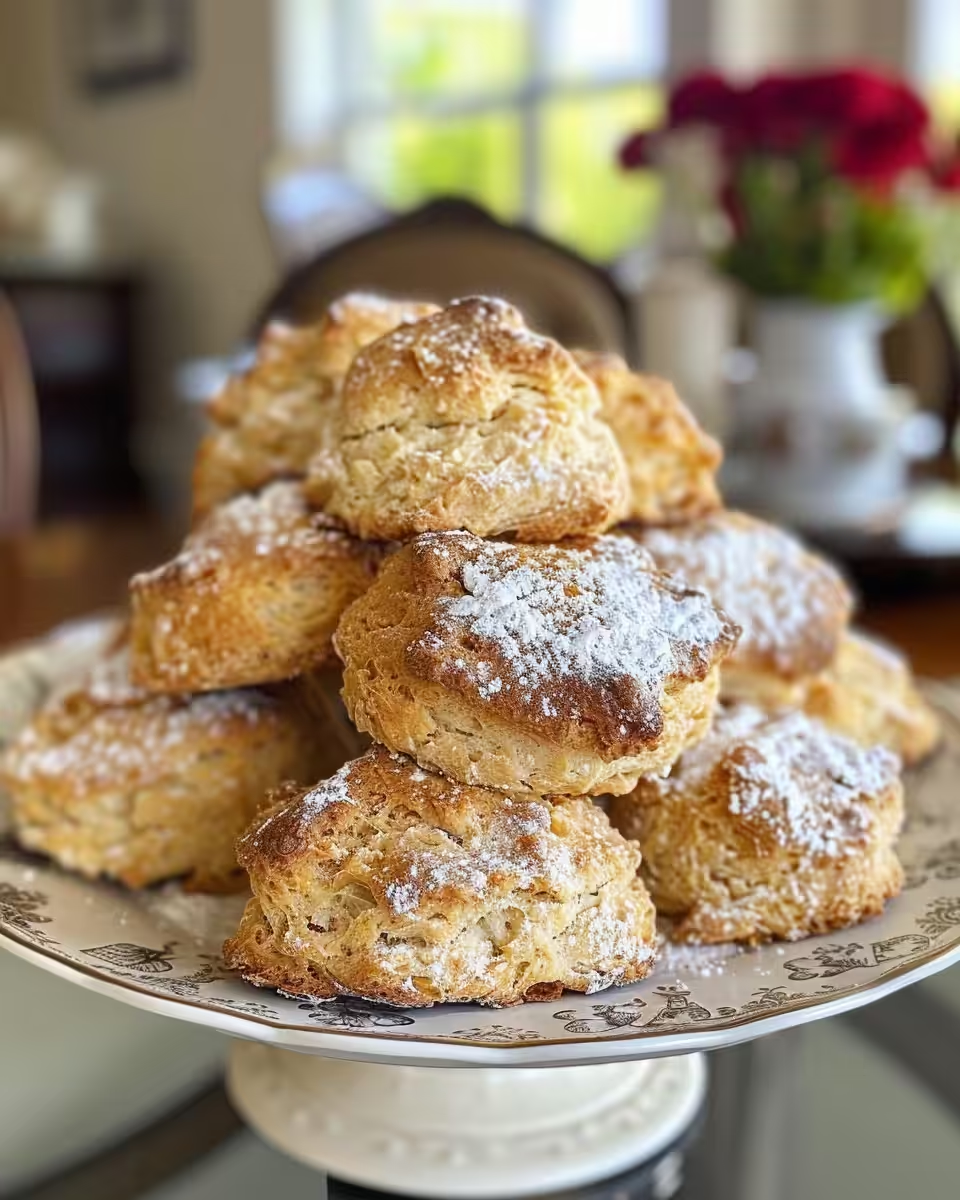
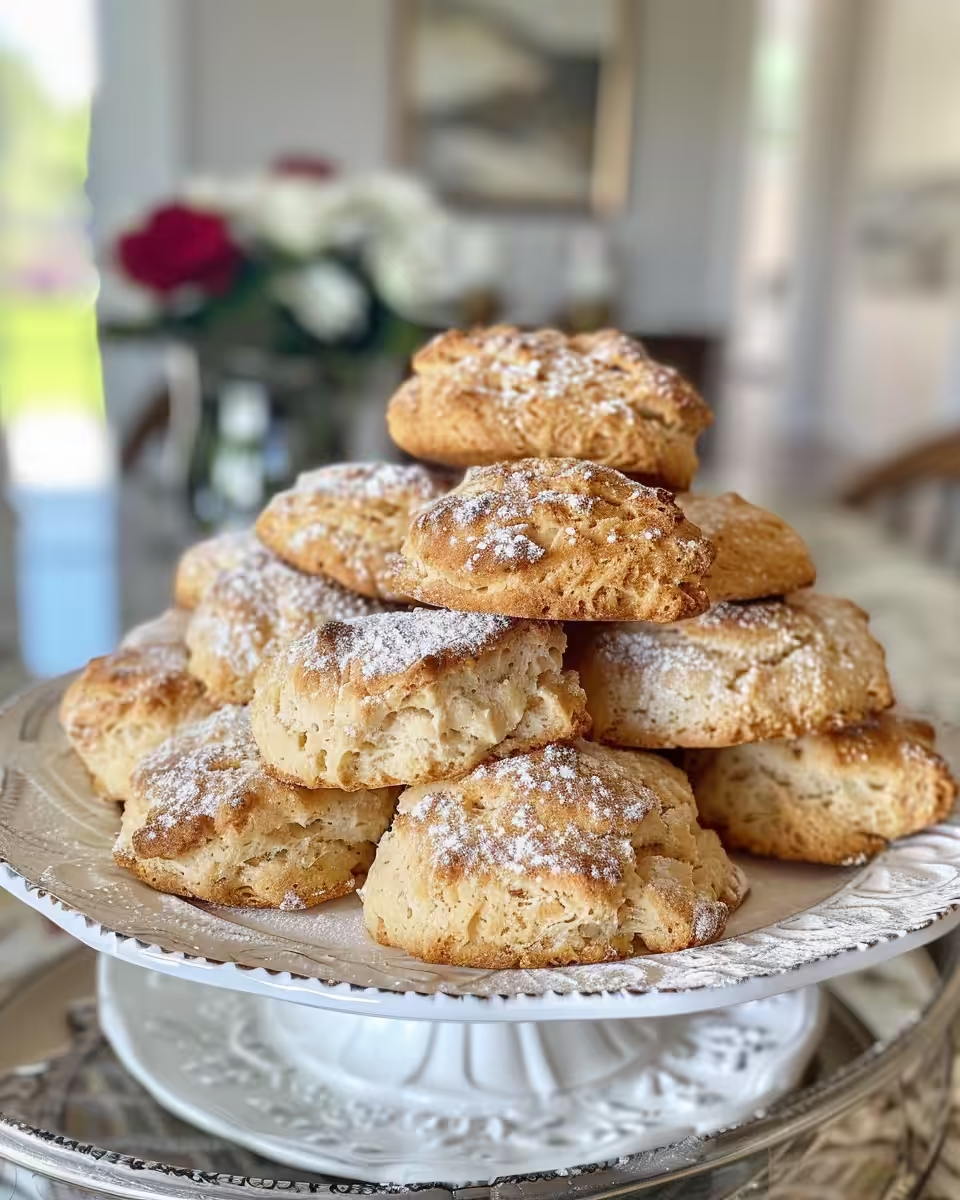
You first notice the crisp golden crust with a slight sweetness from the sugar that caramelizes just right. That tender pull inside, soft and flaky, kinda melts in your mouth when it meets the butter or jam.
The burst of orange zest keeps you coming back for another bite—fresh, bright and a little zingy with every chew. Raisins add a perfect little surprise crunch of sweetness hidden inside.
Warm vanilla whispers in the background, adding a cozy hug to the flavors. Every piece of these scones kinda feels like a little celebration of comfort y’all.
This recipe’s a tasty reminder that simple ingredients mixed with a pressure cooker can create something truly satisfying and memorable for your kitchen table.
Making It Last All Week Long
After enjoying your fresh batch, you can keep leftovers tasty by cooling them completely first. Wrap the scones tightly in plastic wrap or foil to keep moisture in.
Store them at room temperature if you plan to eat them in a day or two, but refrigeration helps stretch their life over 4-5 days. Just remember to bring ‘em back to room temp before serving.
For longer storage, you can freeze scones in a freezer bag. Defrost slowly overnight on the counter or toast ‘em up right from frozen for that fresh baked feel.
Reheating gently in a microwave or low oven works best so you don’t dry out the crumb. These little storage hacks keep your scones tasting tender and fresh all week long.
The FAQ Section You Actually Need
Can I make these scones without raisins? Yep, you can leave ‘em out or swap for chopped nuts or dried cranberries if you like.
How do I know when the scones are done? Look for golden brown edges and that valve hiss from your cooker—that’s when the pressure tells ya it’s time.
Can I use frozen butter straight from the freezer? Sure can, just grate it first so it mixes nicely without melting immediately.
What’s the deal with natural release versus quick release? Natural release lets the scones finish cooking gently inside the cooker without drying out. Quick release stops cooking fast but you risk tougher texture.
Can I substitute buttermilk with regular milk? If you gotta, add a bit of lemon juice or vinegar to milk and let it sit for 5 minutes before using to mimic buttermilk’s tang.
Do I need to knead the dough a lot? No way! Knead just enough to bring the dough together and firm it up a bit. Overkneading makes it tough and less fluffy.
For more recipes using the pressure cooker, check out our Easy Chicken Caesar Pasta Salad and Quick High Protein Greek Pasta Salad that have great tips on pressure cooking techniques and delicious dishes to try next.

The Best Irish Soda Bread Scones Recipe
Equipment
- 1 Pressure Cooker
Ingredients
Main ingredients
- 2 cups all-purpose flour
- 2 teaspoons baking powder
- ¼ teaspoon baking soda
- 5 tablespoons sugar
- ½ teaspoon salt
- 1 stick cold butter
- ½ cup raisins
- 1 teaspoon orange zest
- 1 cup buttermilk plus 1 tablespoon
- 1 teaspoon vanilla extract
Instructions
Instructions
- Mix together all-purpose flour, baking powder, baking soda, sugar, and salt in a bowl.
- Cut in the cold butter until the mixture resembles coarse crumbs.
- Add the raisins and orange zest to the dry mix.
- Pour in buttermilk with vanilla extract and stir until just combined.
- Turn the dough onto a floured surface and knead gently.
- Pat the dough into a 1-inch thick circle and cut into wedges.
- Place the scones onto a baking sheet lined with parchment paper.
- Use the pressure cooker with a trivet and water for steam.
- Cook with natural release until done and scones are golden brown.
- Remove scones from cooker and let them cool before serving.