Steam curls up from the valve and your stomach starts talking back. You catch that little hiss from the sealing ring and know somethin' good is cookin'. The kitchen fills with that sweet and tangy scent that pulls you in close, and before you even see the food, your mouth’s already watering.
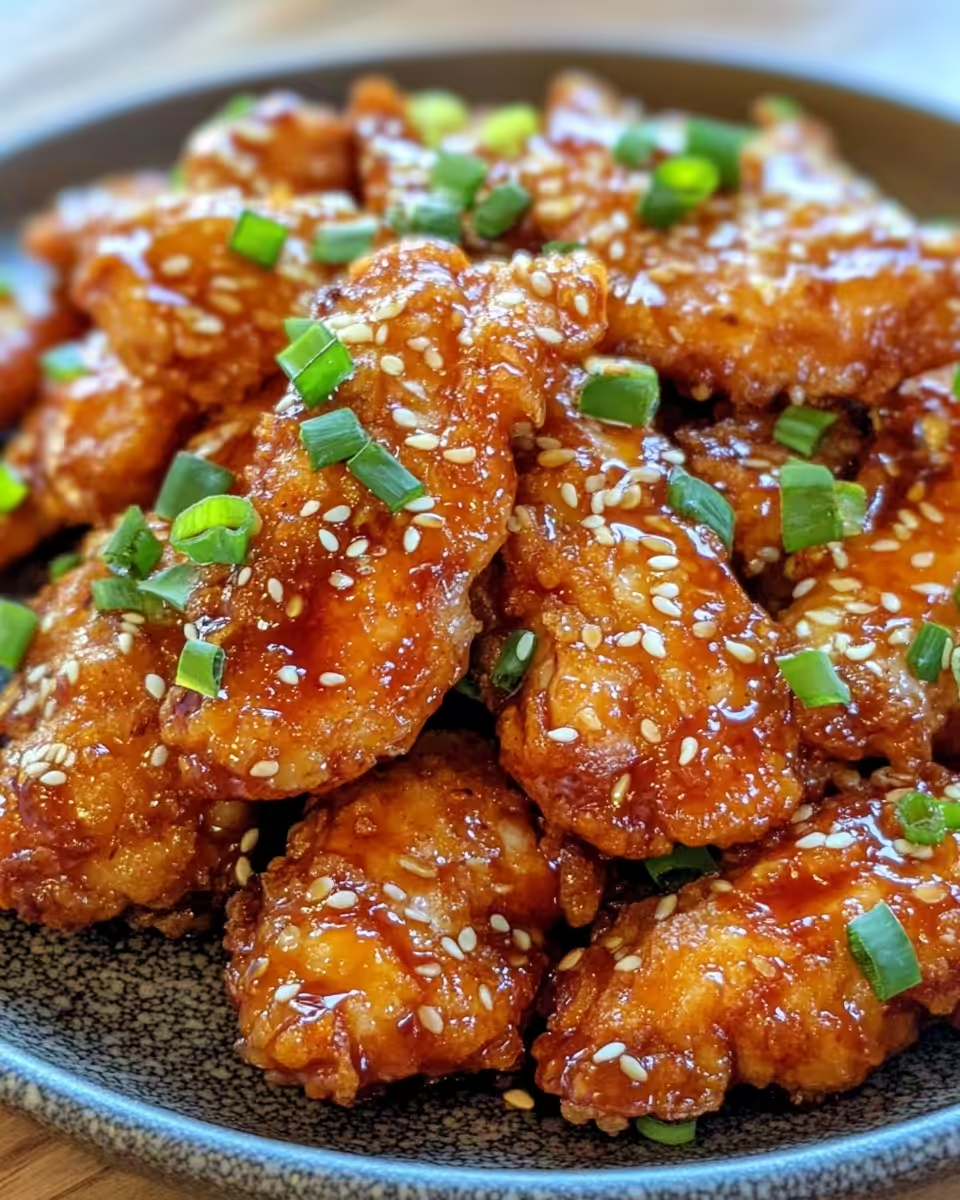
That kinda smell is straight from the honey garlic mix, thick and sticky and just begging to coat some tender, juicy chicken. You remember the last time you made chicken tenders and they came out all dry. Not this time though cause you got the pressure cooker locked and loaded.
As the pressure builds up inside, you can almost hear the chicken getting that tender pull ready to happen. No more guessing if it’s done — just that quick release popping sound when it’s perfect and juicy inside. Dang, dinner’s gonna be something special tonight.
The Truth About Fast Tender Results
- You gotta trust the sealing ring to keep that pressure tight.
- The valve hiss means your cooker’s working, so don’t rush to open it.
- Quick release is great to stop cookin’ fast but be careful of steam blasts.
- Slow release lets the chicken rest and stay juicy, but takes a bit longer.
- Proper timing is key to get that tender pull without dry mess.
- Prepping your chicken with bread crumbs adds texture even after pressure cooking.
Your Simple Ingredient Checklist
- 2 pounds boneless skinless chicken breast or tenderloins
- 1 cup panko bread crumbs or regular bread crumbs
- 2 eggs, beaten
- ¾ cup all-purpose flour, plus more if needed
- 1 teaspoon kosher salt
- Fresh cracked black pepper, to taste
- Optional seasonings like crushed garlic, garlic powder, smoked paprika
- ½ cup ketchup
- ½ cup honey
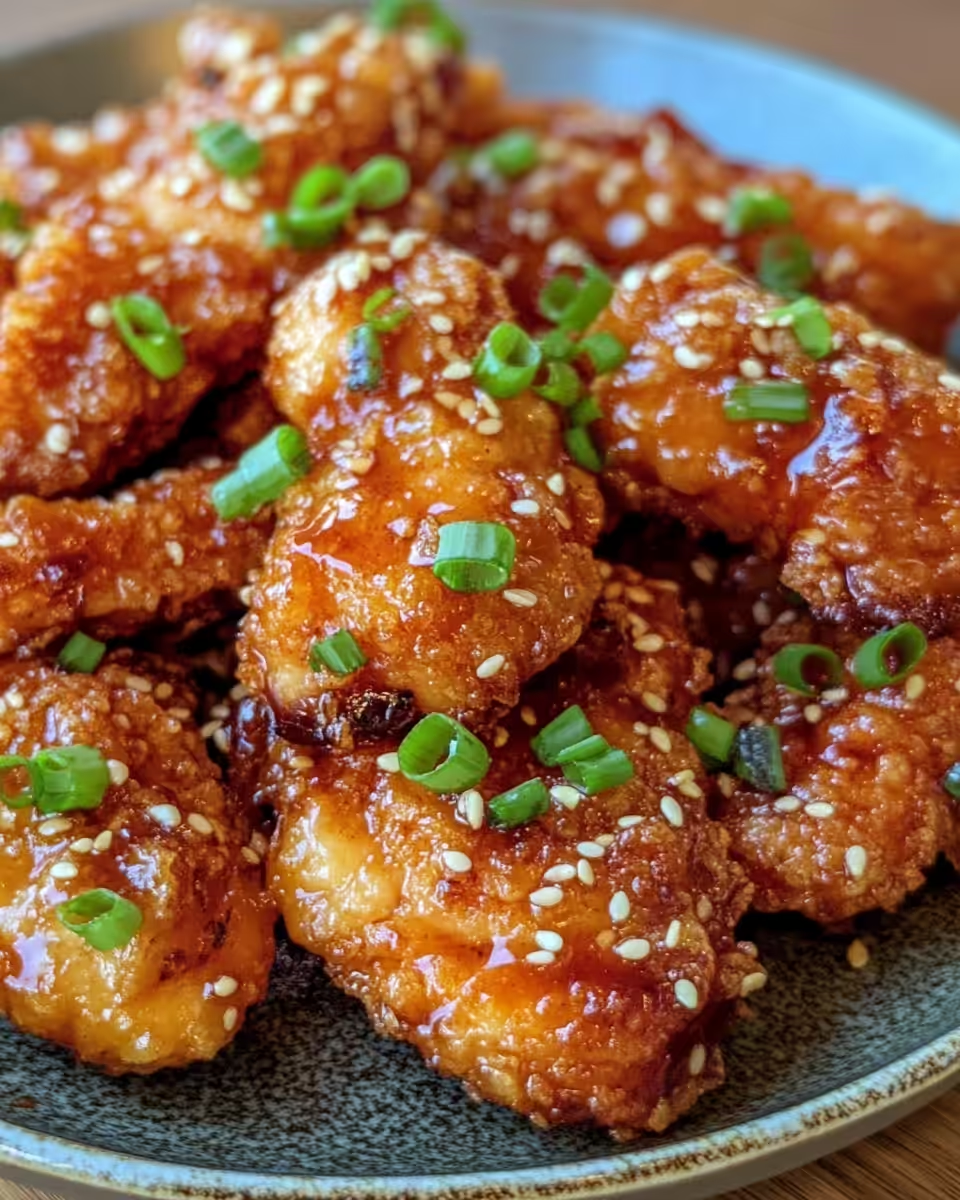
These ingredients got you covered from crispy breading to that sweet honey garlic sauce. You feel like you’re setting up a little flavor party in your kitchen. The flour and eggs help the crumbs stick, while salt and pepper bring out all those flavors y’all gonna love. If you wanna spice it up, add chili garlic sauce or a splash of lime juice in the sauce for punch.
Walking Through Every Single Move
- First, preheat your oven to 400 degrees Fahrenheit and get a baking sheet ready with parchment paper or just grease it lightly so nothing sticks.
- Set up your breading station with three shallow dishes: one for the seasoned flour, one for the beaten eggs, and one for the panko crumbs.
- Dredge each chicken tender first in the flour mixture, then dip into the eggs, and finally fully coat in the panko. Press the crumbs on gently but make sure they stick good.
- Place all the coated tenders on your baking sheet. Lightly spray them with oil to get that nice crispy outside after baking.
- Bake for about 20 to 25 minutes, turning the tenders halfway through so they brown up real nice on both sides and the chicken is cooked through.
- While that’s goin’, whip up your sticky sauce by simmering ketchup, honey, soy sauce, and your optional garlic in a small saucepan for 5 to 7 minutes until it thickens a bit. When the tenders are done, toss or brush them well with this sauce and serve immediately.
Easy Tweaks That Make Life Simple
- If you don’t wanna do the oven step, y’all can crisp the chicken right in your pressure cooker by using the sauté function after cooking. Just watch it close so crumbs don’t burn.
- Swap in fish sauce for soy sauce in your honey glaze for a deeper savory kick. Just be sure to start small cause fish sauce is saltier.
- Use pre-minced garlic or garlic powder if you’re short on time. It works real good and cuts prep down.
The Flavor Experience Waiting for You
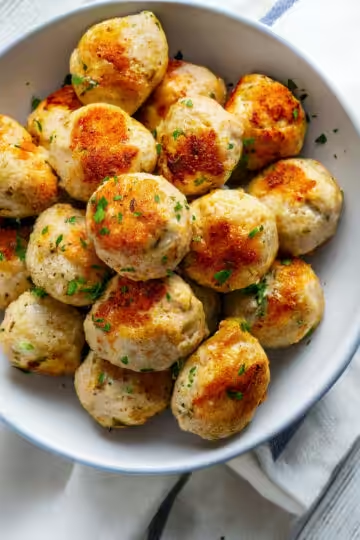
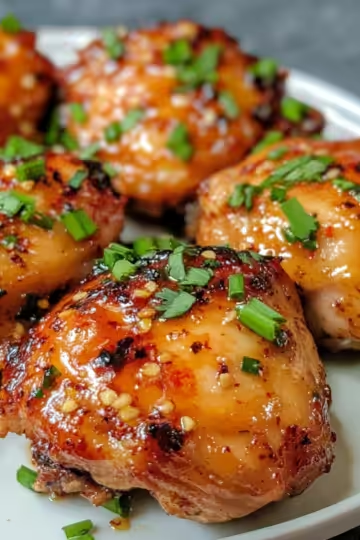
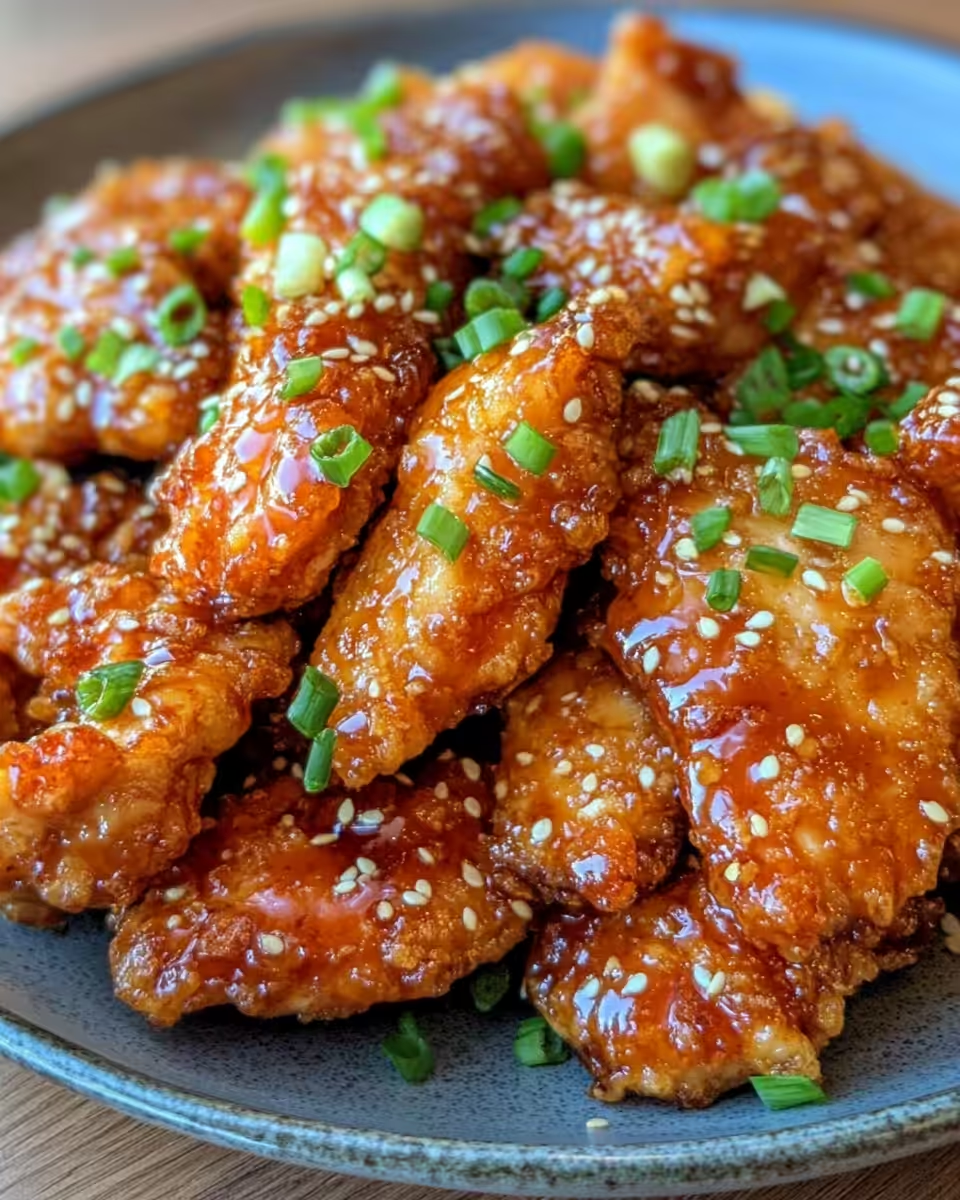
When you bite into these tenders, you get that crispy crunchy outside that holds onto the sticky honey garlic glaze. It’s sweet but with enough garlic punch to keep it interesting. You can taste the subtle tang from the lime juice and a touch of heat if you threw in chili sauce.
The chicken inside stays tender and juicy outta the pressure cooker, so it pulls apart easy but isn’t mushy. It’s the kind of texture that makes you wanna keep eating no matter what else you got going on.
This dish is a crowd pleaser for sure. Y’all gonna love serving it over rice or with veggies cause the flavors stick everywhere and the sauce keeps your fingers licking clean.
How to Store This for Later
- Refrigerate leftovers in an airtight container. They keep good for about 3 to 4 days.
- For longer storage, freeze the chicken tenders in freezer bags. Just separate each piece with parchment or wax paper so they don’t clump. Use within 2 months for best taste.
- Reheat refrigerated chicken in the oven or air fryer to get the crisp back. Microwave works but might make the coating soggy.
- If you froze your tenders, thaw overnight in the fridge before warming them up. This helps keep the juicy texture and the honey garlic sauce tasting fresh.
Common Questions and Real Answers
- Can I use chicken thighs instead of breast or tenders? Yep, chicken thighs work well too and stay juicy. Just watch your cooking time since thighs might take a bit longer to get tender.
- Do I have to bread the chicken before pressure cooking? Not necessarily. You can cook chicken without breading and add the honey garlic sauce after, but y’all lose that crispy texture that makes these tenders special.
- What if I don’t have panko crumbs? Regular bread crumbs work fine, but panko gives that extra crunch that’s dang satisfying.
- Is quick release or slow release better for this recipe? Slow release helps keep chicken juicy, but quick release is faster if you’re in a hurry. Just be careful of steam.
- Can I make this recipe spicier? Totally. Adding extra chili garlic sauce or a pinch of cayenne pepper in your sauce pumps up the heat.
- How do I prevent the breading from falling off? Make sure to press the panko on firmly and don’t rush the dredging steps. Also, spraying with oil before baking helps the crumbs stick and crisp up.
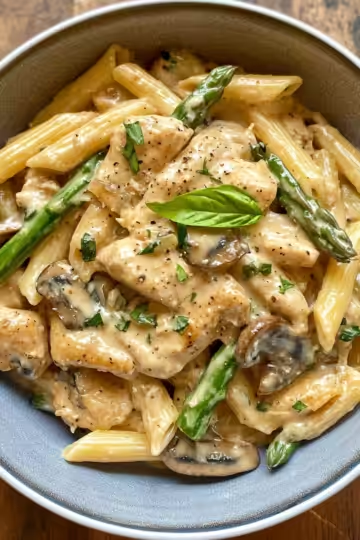
Explore more delicious recipes like these cheesy taco sticks and garlic mushroom pasta to expand your culinary adventures. For a fun twist on finger foods, try making mozzarella stuffed rosemary Parmesan soft pretzels as great party treats.
Sticky Honey Garlic Chicken Tenders
Equipment
- 1 Baking sheet pan lined with parchment paper
Ingredients
Ingredients
- 2 pounds Boneless skinless chicken breast or tenderloins
- 1 cup Panko bread crumbs or regular bread crumbs
- 2 Eggs beaten
- ¾ cup All-purpose flour plus more if needed
- 1 teaspoon Kosher salt
- Fresh cracked black pepper to taste
- Optional seasonings crushed garlic, garlic powder, smoked paprika
- ½ cup Ketchup
- ½ cup Honey
- ¼ cup Soy sauce or fish sauce
- 1 tablespoon Chili garlic sauce or other hot sauce (optional)
- 2 tablespoons Fresh lime juice or rice vinegar
- 1 teaspoon Cornstarch
Instructions
Instructions
- Preheat oven to 400°F and prepare a baking sheet with parchment paper or grease lightly.
- Set up three bowls: one for seasoned flour, one for beaten eggs, one for panko crumbs.
- Dredge each piece of chicken in flour, then egg, then panko. Press crumbs gently to coat well.
- Place coated tenders on the baking sheet. Spray lightly with oil.
- Bake for 20–25 minutes, flipping halfway through for even browning.
- While baking, simmer sauce ingredients in a saucepan for 5–7 minutes until thickened.
- Toss or brush baked tenders with sauce and serve immediately.
- Optionally, sauté cooked tenders in sauce briefly to help it stick better without overcooking.