The pressure builds and you start counting down minutes until you eat. You spot that familiar whistle from your pressure cooker and you start imagining that warm, soft Irish potato bread called Potato Farls or Fadge. It’s kinda like comfort food hugging your belly and you’re so close now, only a few minutes left until you get that first bite.
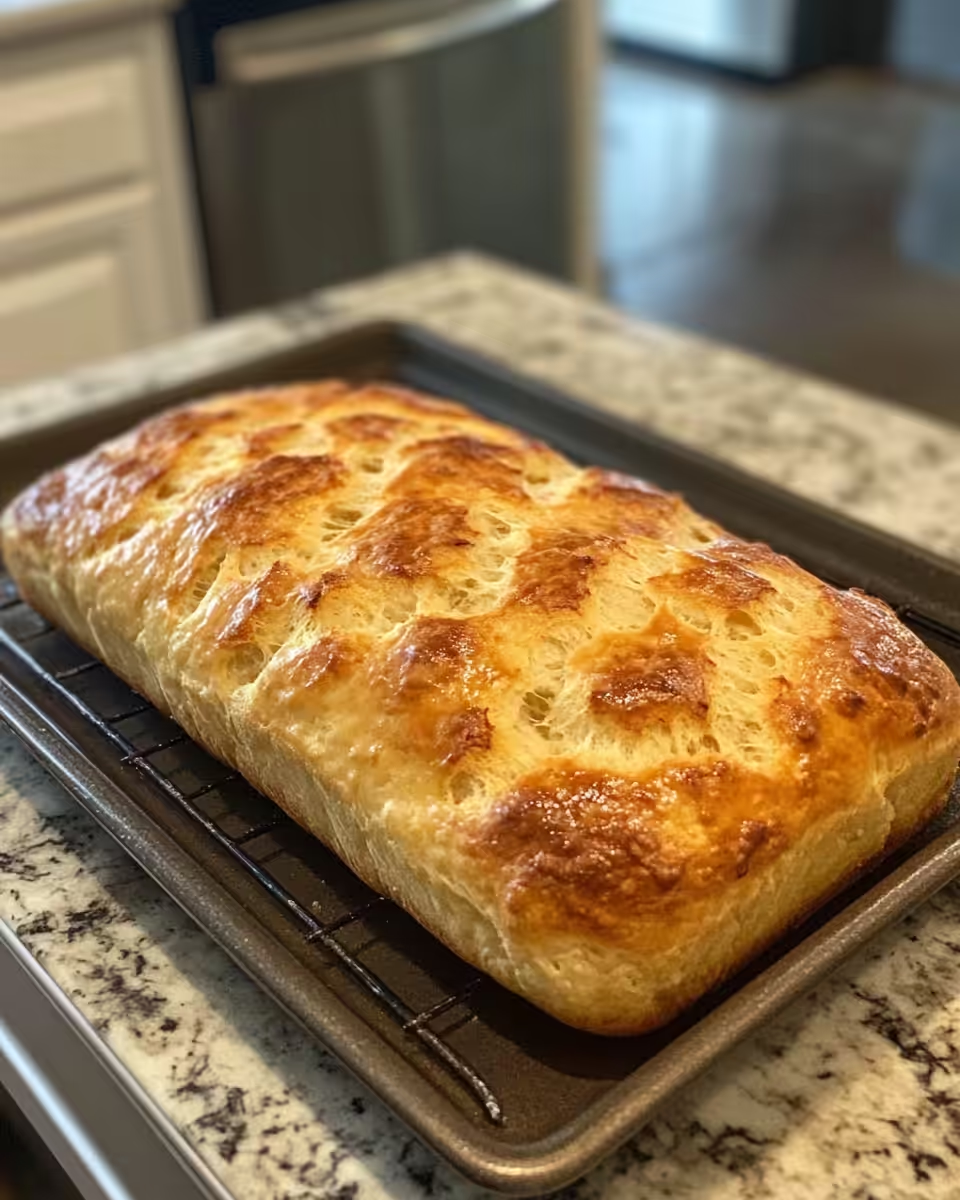
When you crack open that lid, the smell hits you right away. The scent of cooked potatoes mixed with a hint of butter or olive oil makes you wanna dive right in. But you gotta wait a moment, just a little longer so the bread cools enough to handle. You catch yourself smiling thinking about the crispy outside with the soft inside that’s waiting for you.
You start thinking about how the pressure cooker made this whole thing a breeze. Usually, potato bread's a lot of waiting and watching, but with pressure cooking, you’re freeing up time for other stuff. You like the simplicity and how it turns out every single time, soft and perfectly done, just the way y’all like it.
What Makes Pressure Cooking Win Every Round
- Pressure cooking cuts down your cooking time big time, which means you get to eat sooner.
- It locks in flavors real good, kinda like sealing a deal inside that sealed pot.
- The broth depth creates steam that cooks things evenly without drying out your food.
- Quick release is perfect when you wanna pop the lid right after cooking to keep that crispiness.
- Slow release works best when you want the food to keep soaking up flavors as pressure drops naturally.
- Natural release helps keep the texture soft and nice, especially good for breads and potatoes.
- You gotta love that easy cleanup since it’s all in one pot, no extra pans messin’ up your kitchen.
The Complete Shopping Rundown
- 4 medium red or russet potatoes — these are the heart of your farls, gotta be tender and just right.
- Gluten-Free Baking Mix — 4 tablespoons for the dough and some more to dust your surface.
- Olive oil or butter — use 2 tablespoons, whichever you prefer, to add richness.
- One egg — to bind it all together and make the dough soft.
- Salt — to taste, because no bread should be bland.
- Black pepper — again, gonna add that mild kick.
- Optional toppings or sides — think butter, jam, or some eggs on the side to go all out.
- Non-stick skillet — you’ll need this for the final golden brown finish.
- Some water — just enough to create that broth depth in your pressure cooker to steam the potatoes.
You want to make sure your potatoes are firm and fresh. Red potatoes tend to hold moisture nice, but russets mash up real smooth. Gluten-free baking mix should be one that you trust for good rise and texture. Olive oil adds a richer taste, but butter's a classic if you want that buttery flavor.
Walking Through Every Single Move
- Peel and chunk your potatoes evenly so they cook at the same rate in the pressure cooker.
- Add the chunks to your pot with salted water covering 'em just right, about an inch or so.
- Lock your lid in place and set the cooker to high pressure. Wait for pressure build and cook them for about 15-20 minutes till tender.
- When time's up, do a quick release to stop pressure fast, then drain potatoes well in a colander.
- Mash the potatoes smooth and let 'em cool just a bit so your egg won’t scramble when mixed.
- Mix in the gluten-free baking mix, olive oil or butter, egg, salt, and pepper until soft dough forms. Dust surface with the baking mix before rolling.
- Roll out dough to about a half inch thickness. Cut into quarters or shapes you like – traditionally farls are triangle or squares.
- Heat a non-stick skillet over medium heat and cook each farl 3-5 minutes per side until golden and heated through. Serve warm with your fave toppings.
Easy Tweaks That Make Life Simple
- You can swap the olive oil for melted butter after cooking if you want that extra buttery crust without mixing it in the dough.
- Use pre-cooked potatoes from your fridge if you got ‘em ready, it saves time on boiling.
- Roll out dough between two sheets of parchment paper to keep it less sticky and easier to handle.
Your First Taste After the Wait
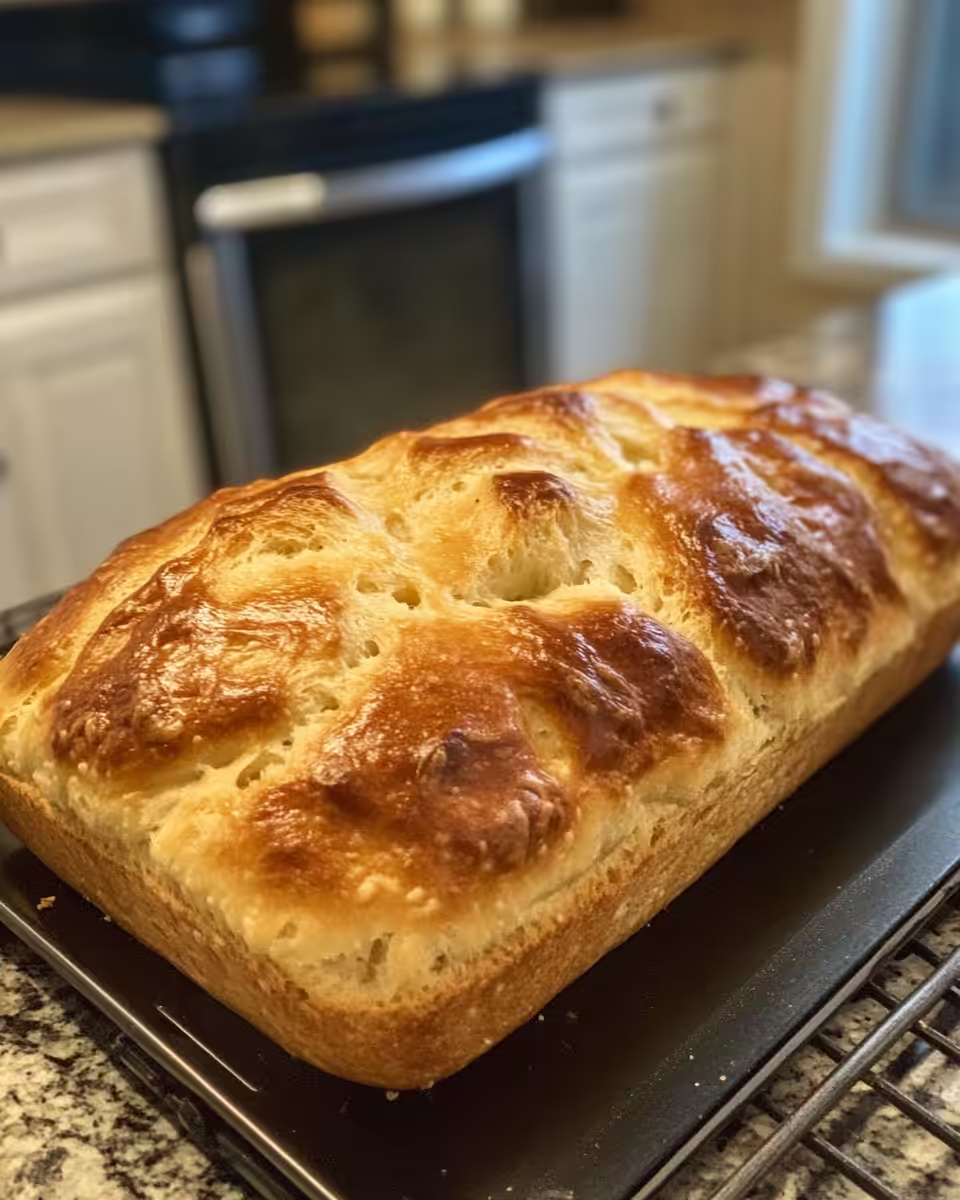
You bite into that fresh farl and it’s got the perfect crunch on the outside, kinda like a welcoming hug for your mouth. That buttery, warm flavor melds with soft, fluffy potato inside, and it’s just right.
Each bite reminds you why you made it yourself, a treat that’s homey and simple. The slight salt and pepper give just enough edge without overpowering the potatoes. You catch that lovely balance, y’all, and you know it’s good.
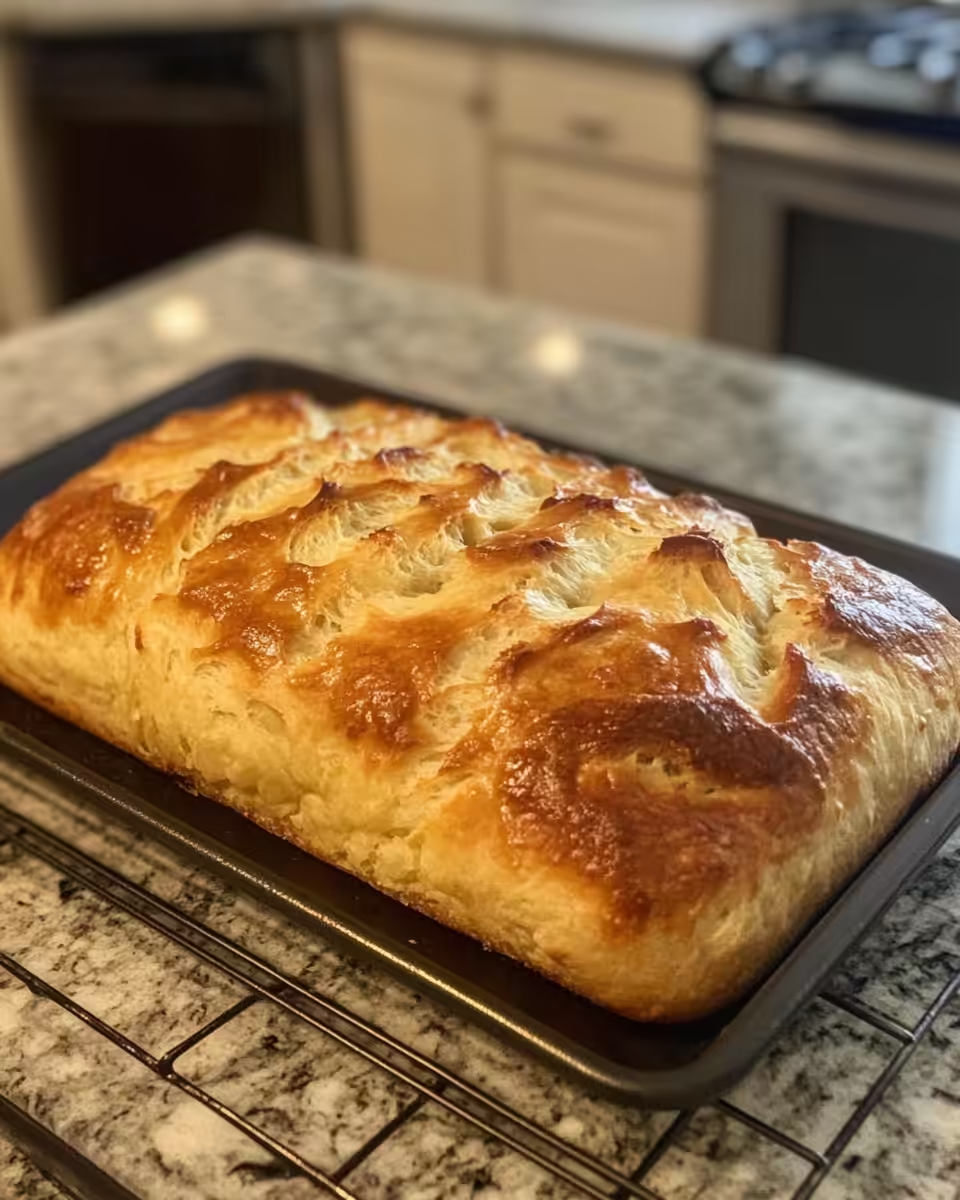
Right then, you want another piece, maybe with a spread of jam or a pat of butter. It’s pure comfort, and you feel like this is gonna be a new regular in your kitchen. It’s the kinda bread that brings people back to the table, every time.
How to Store This for Later
- Wrap cooled farls tightly in plastic wrap or foil and keep in the fridge for up to 3 days. They’re perfect to reheat in a skillet or toaster.
- Freeze extras by placing them flat in a zip-top bag or airtight container. You can stash these for a month or so. Just thaw overnight and re-toast before eating.
- If you want ‘em ready for busy mornings, slice them before storing so you can grab a piece quick and warm it fast in the toaster or microwave.
When reheating, use a skillet with a little butter to get that crisp crust back. Microwave’s quick but might lose the crispiness y’all love.
The FAQ Section You Actually Need
- Can I use sweet potatoes instead of regular potatoes?
You can totally swap in sweet potatoes. They change the flavor a bit and make it sweeter but still work well. Just adjust cook time if needed since sweet taters get tender faster. - Is gluten-free baking mix necessary?
Yes, if you need it gluten-free that’s the way to go. It keeps dough light and soft. You could try different brands but results might vary. - Can I skip the egg?
You might, but the egg helps hold everything together so dough could get crumbly without it. Consider a flax egg or chia egg if you want to keep it vegan. - What’s the best release method for this recipe?
Quick release works good to stop cooking right after potatoes are done. Natural release isn’t necessary here or might make dough soggy in skillet. - Can I make this recipe in an Instant Pot?
Yep, Instant Pot’s perfect for the boiling step. Just use your manual mode with high pressure and follow the same cook time for potatoes. - How do I get the farls crispy on the outside?
Cook ‘em in a hot non-stick skillet with some butter or oil. Wait till you see golden edges before flipping. Don’t rush it or they won’t crisp right.
Irish Potato Bread (Potato Farls or Fadge) | Gluten Free
Equipment
- 1 Non-stick skillet
Ingredients
Main Ingredients
- 4 medium red or russet potatoes
- 4 tablespoons Gluten-Free Baking Mix plus more for dusting
- 2 tablespoons Olive oil or butter
- 1 egg
- to taste Salt and black pepper
- as needed Water for steaming potatoes
Instructions
Instructions
- Peel and chunk your potatoes evenly so they cook at the same rate in the pressure cooker.
- Add the chunks to your pot with salted water covering them about an inch.
- Lock lid and cook on high pressure for 15-20 minutes until tender.
- Quick release pressure, then drain potatoes well in a colander.
- Mash potatoes smooth and let cool slightly. Mix in baking mix, olive oil or butter, egg, salt, and pepper until a soft dough forms.
- Roll out dough to ½ inch thick, cut into quarters or desired shapes.
- Heat a non-stick skillet over medium heat and cook farls 3–5 minutes per side until golden. Serve warm.