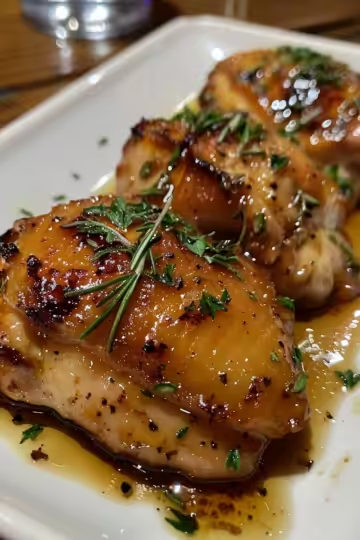
The pot lid rattles and you know dinner is almost ready. You catch that delightful clatter of steam building pressure inside the cooker and it gets your stomach rumbling. There’s something about that sound telling you the chicken thighs are cooking up right, all juicy and tender.
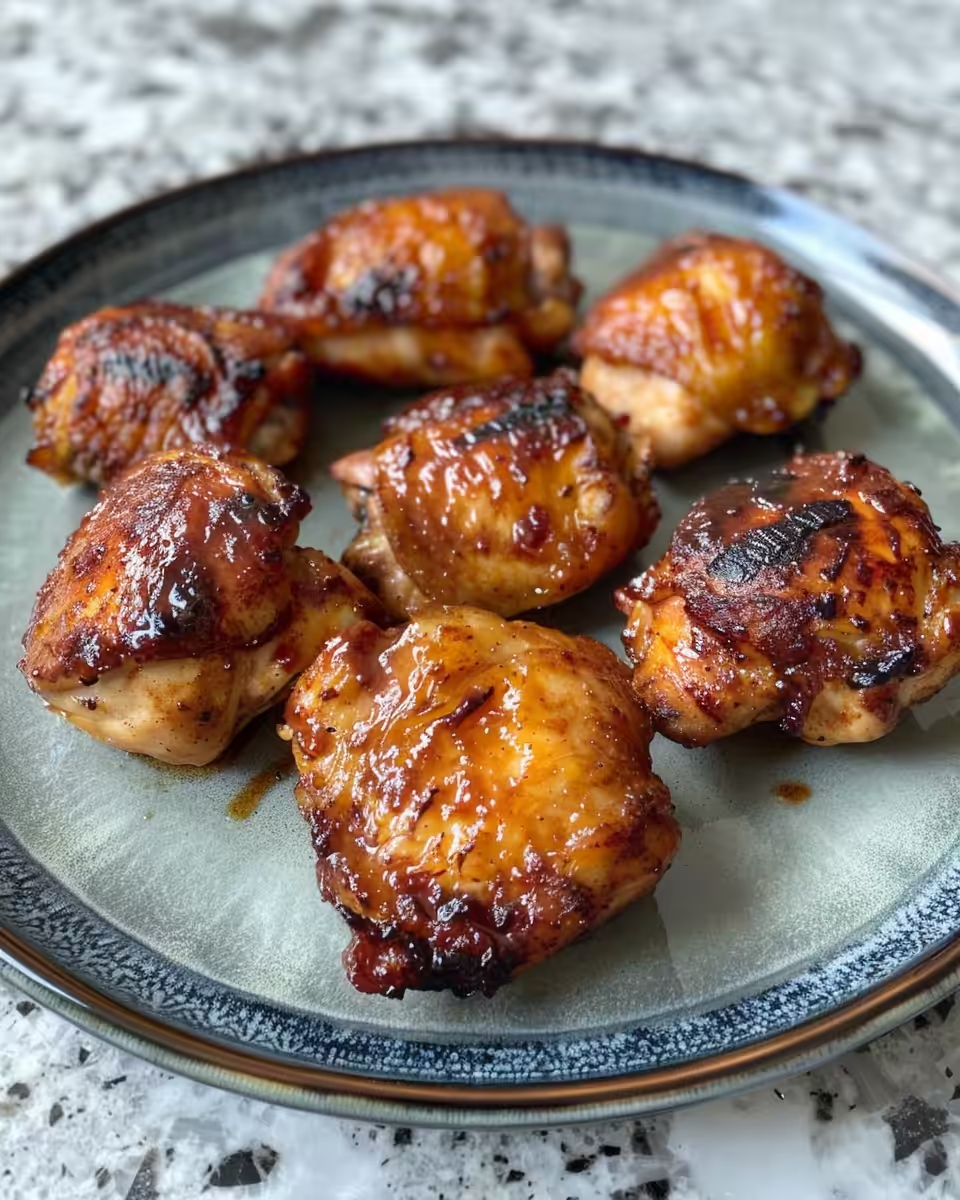
You recall how seasoning those thighs just right earlier helped set the stage. The skin’s goin’ to get that perfect crisp after it’s pressure cooked, you just gotta finish it up in the oven a bit. This blend of easy cooking and a little finishing touch makes your meal special without all the fuss.
That sealing ring in your cooker holds it all in tight while the steam cues tell you when the pressure builds just right. When the timer beeps and you start a natural release, you almost can’t wait to see what you made. You feel that excitement growing, knowing all the flavors have had time to get cozy together.
The Real Reasons You Will Love This Method
- You get juicy tender chicken thanks to the pressure cooker softening that meat up super fast. Try this technique along with other quick methods like our Delicious Enchilada Pasta for fast flavorful dinners.
- The skin crisps up beautifully because you finish it off in the oven, no soggy skin here. Similar crisping tricks can be found in recipes like our Cheesy Taco Sticks.
- It’s quick compared to slow cooking or the usual roast-only method, saving your evening. For more time-saving meals, check Garlic Mushroom Pasta Recipe.
- The 1-1-1 sauce is simple but adds a sweet, tangy kick you’ll wanna drizzle on everything. You might enjoy pairing sauces like this with your favorites.
- Steam cues and natural release help take the guesswork out so your results are always spot on. It’s a must-try for anyone using a pressure cooker.
All the Pieces for This Meal
- 4 bone-in, skin-on chicken thighs. You want the skin for that crispy finish. Bone-in keeps the meat juicy.
- 1 tablespoon soy sauce. Brings out that savory umami flavor that goes so well with chicken.
- 1 tablespoon brown sugar. Sweetens the sauce just enough without overpowering.
- 1 tablespoon rice vinegar. Adds a bit of tang to balance the sweetness.
- 1 tablespoon vegetable oil for searing the chicken skin till golden.
- Salt and freshly ground black pepper. The little touches that bring everything together.
- Optional: a little garlic powder or smoked paprika if you wanna jazz things up.
- You gotta have your pressure cooker with a good sealing ring to keep pressure steady.
- And a baking dish or ovenproof skillet for that finishing roast in the oven.
The Full Pressure Cooker Journey
- Preheat your oven to 400 degrees Fahrenheit since you’ll need it ready for crispin’ later.
- Season those chicken thighs real good with salt and pepper on both sides. You wanna love that flavor. For seasoning tips, our Balsamic Chicken Recipe may inspire you.
- Get your vegetable oil heating in a big ovenproof skillet over medium-high heat. This is for that first sear.
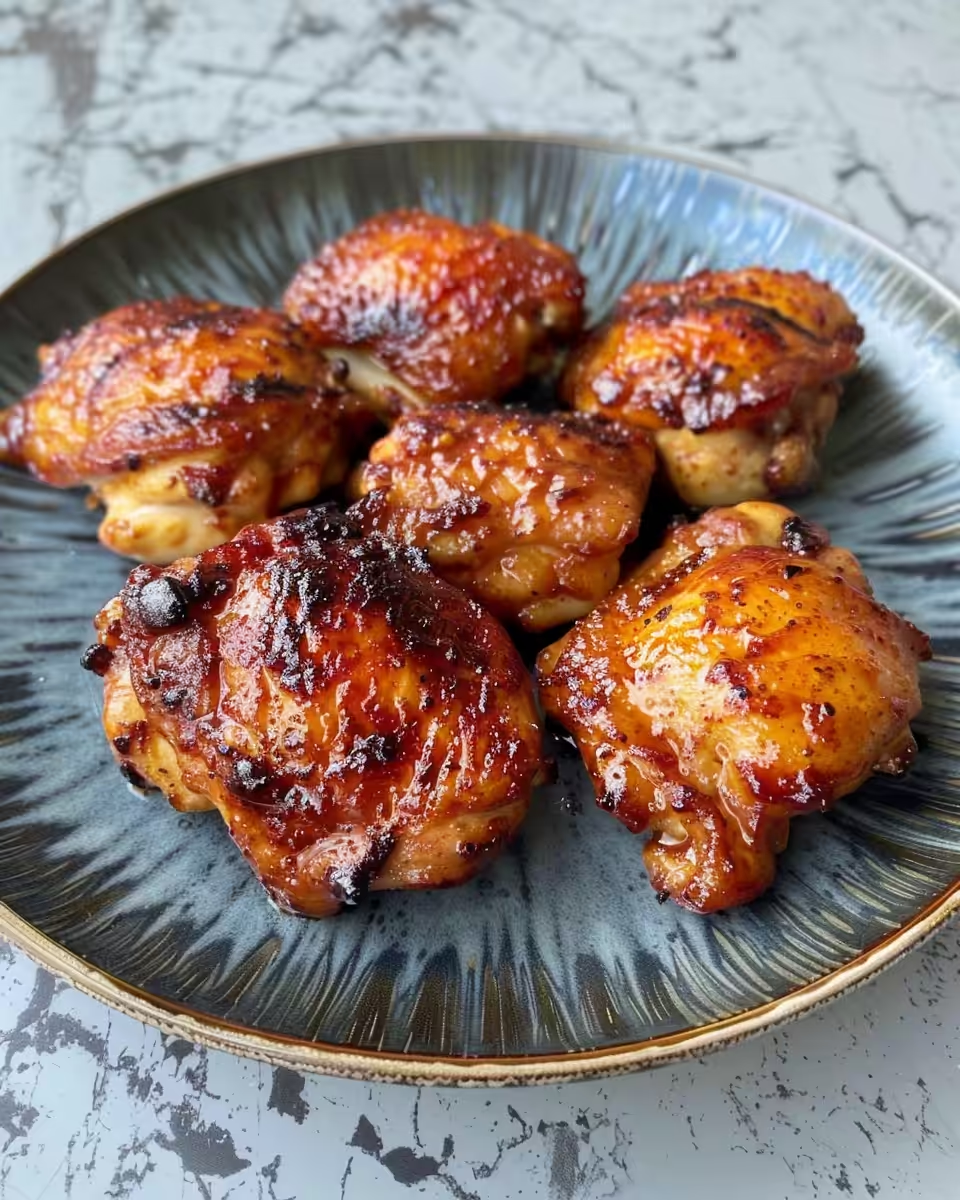
- Place the chicken thighs skin side down in your hot skillet, cook them for about 7–8 minutes until the skin is deep golden and crisp to your liking.
- Flip the thighs so skin side’s up now and pop the skillet straight into the preheated oven. Roast for 20 to 25 minutes till the chicken’s cooked through and juices run clear.
- While that’s roasting, mix soy sauce, brown sugar, and rice vinegar in a small saucepan over medium heat. Let it simmer for around 5 minutes until it thickens just a bit.
- Once outta the oven, give your chicken a few minutes rest. Then serve with that tasty 1-1-1 sauce drizzled on top or on the side because dang it’s good either way.
Quick Tricks That Save Your Time
- Use your pressure cooker to do the initial cook so chicken is juicy and tender way quicker than stove or oven alone.
- Preheat the oven while you sear chicken skin so you’re not waiting around later.
- Make that 1-1-1 sauce in advance if you wanna save a few minutes during your dinner rush.
- Do a slow release after pressure cooking instead of quick release so your chicken stays juicy and doesn’t spatter.
The Flavor Experience Waiting for You
You gonna love the first crispy skin bite. It snaps right between your teeth, all golden and seasoned just right. That contrast of the crunchy outside with juicy inside is heckin’ satisfying.
The sauce is a sweet and tangy little beast that livens up every bite. It’s not too sweet, not too sour. It’s just dang perfect with that soy and brown sugar mix mellowed by rice vinegar.
As you eat, you notice all those flavors playing nicely together. The salty, sweet, tangy dance happening with the chicken meat kinda makes you wanna close your eyes and savor it more. Y’all done good with this one.
Making It Last All Week Long
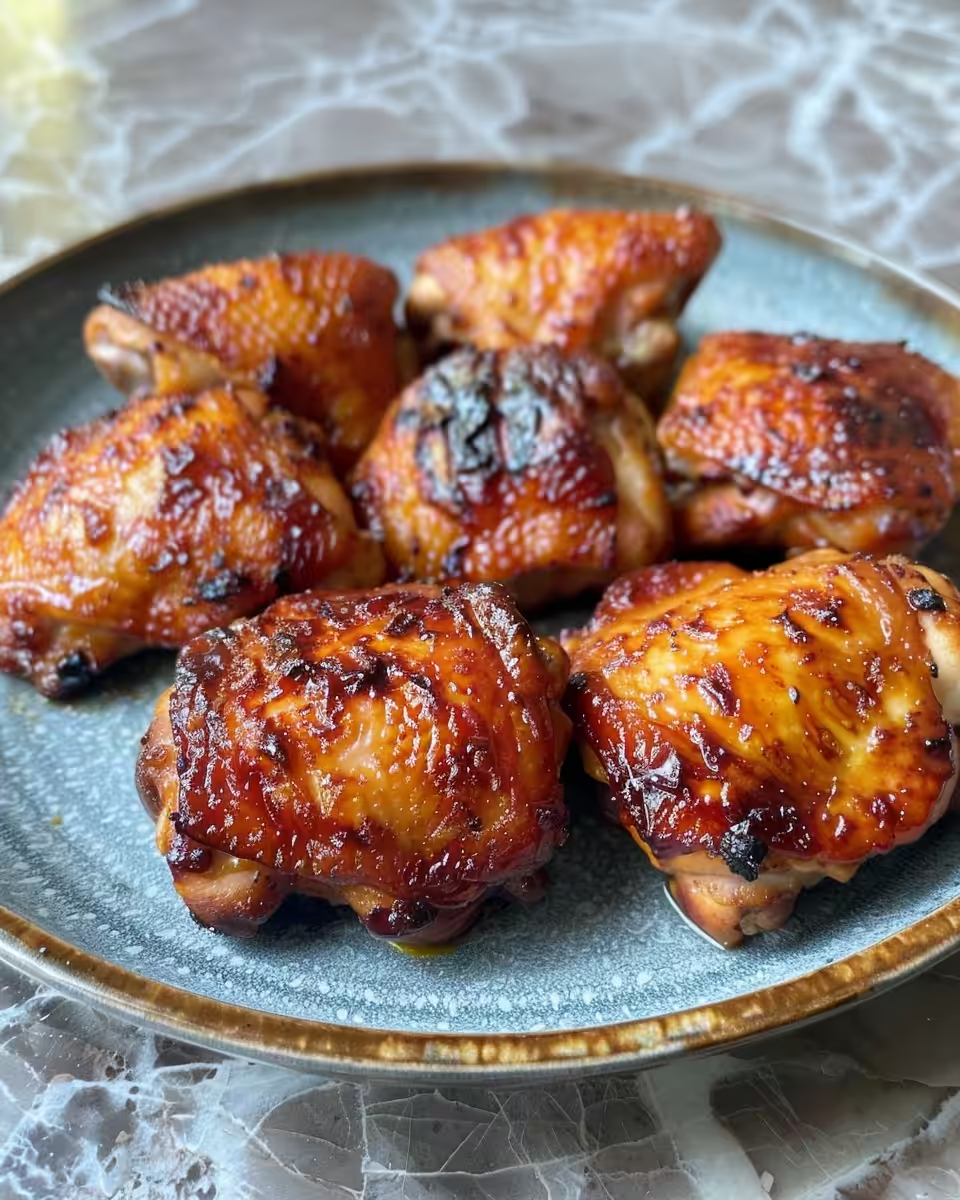
- Store cooked chicken in an airtight container and keep it in the fridge up to 4 days. It stays juicy if you reheat gently.
- You can freeze leftovers by placing chicken thighs in freezer bags, removing air, and freeze up to 3 months. Thaw overnight in fridge before reheating.
- If you wanna meal prep, slice chicken and keep sauce separate. Reheat chicken covered to keep moist, then add sauce fresh before eating.
What People Always Ask Me
- Can I use boneless chicken thighs? Sure, but bone-in keeps the meat more juicy and flavorful. Plus the skin crisps better on bones.
- What’s the deal with natural release vs quick release? Natural release lets your cooker pressure slowly drop which keeps meat juicy. Quick release is faster but can make meat less tender.
- Do I need a special sealing ring for this? Nope just make sure your sealing ring is in good shape and fits well for the steam pressure build.
- How thick should I make the 1-1-1 sauce? It’s good just a little thickened so it coats the chicken but still drizzles nicely.
- Can I skip the oven crisping step? You can but darn the skin won’t get that great crunch. Oven finish really elevates the whole dish.
- What sides go best with this chicken? Rice, steamed veggies, or a fresh salad all balance this rich and flavorful chicken real good.
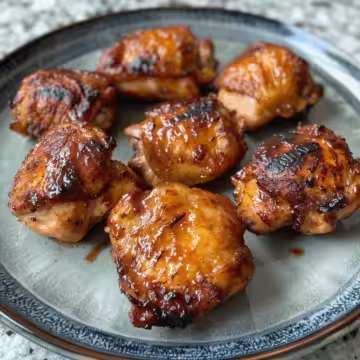
Crisp-Skinned Chicken Thighs with 1-1-1 Sauce
Equipment
- 1 Pressure cooker with a working sealing ring
- 1 Ovenproof skillet or baking dish for roasting the chicken
Ingredients
Main ingredients
- 4 Bone-in, skin-on chicken thighs for juicy meat and crisp skin
- 1 tablespoon Soy sauce for umami flavor
- 1 tablespoon Brown sugar for subtle sweetness
- 1 tablespoon Rice vinegar adds a tangy kick
- 1 tablespoon Vegetable oil for searing the chicken
- Salt and freshly ground black pepper for seasoning
Instructions
Instructions
- Preheat oven to 400°F for finishing the chicken.
- Season chicken thighs with salt and pepper on both sides.
- Heat vegetable oil in ovenproof skillet over medium-high heat.
- Sear thighs skin-side down for 7–8 minutes until golden and crisp.
- Flip thighs skin-side up and transfer skillet to oven. Roast 20–25 minutes until cooked through.
- While thighs roast, combine soy sauce, brown sugar, and rice vinegar in a saucepan over medium heat.
- Simmer sauce about 5 minutes until slightly thickened.
- Remove chicken from oven, rest a few minutes before serving.
- Serve chicken with sauce drizzled on top or on the side.