The pot lid rattles and you know dinner is almost ready. You can feel the steam cues building, the valve hissing a little as pressure pushes inside. It’s kinda like it’s telling you the yum’s just about to happen.
You spot the little wobbles in the lid, a tender pull on the handle tells you this is the moment. Quick release or slow release, you gotta watch the valve hiss close so you don’t lose that perfect cooking time. The kitchen smells like it’s holding back its secret till now.
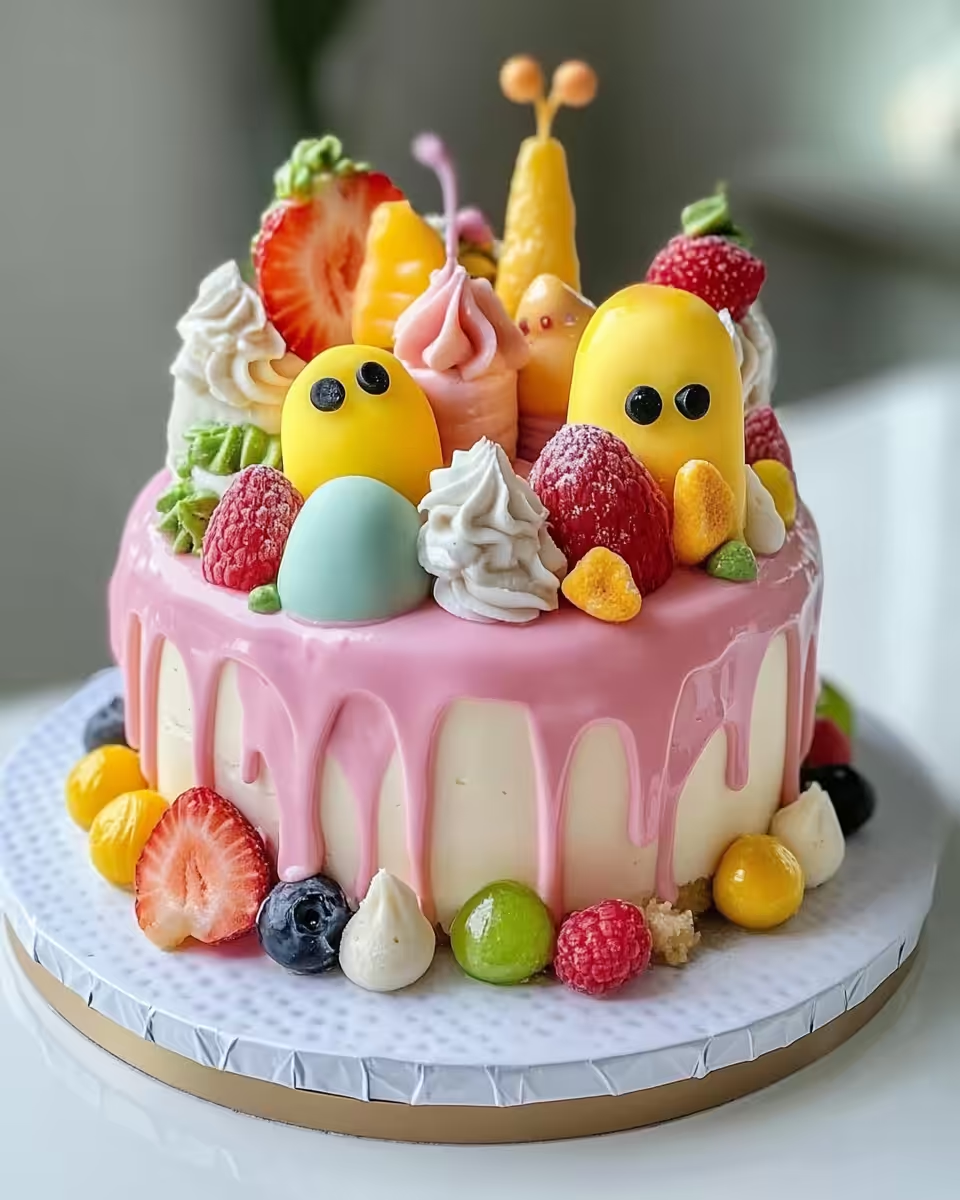
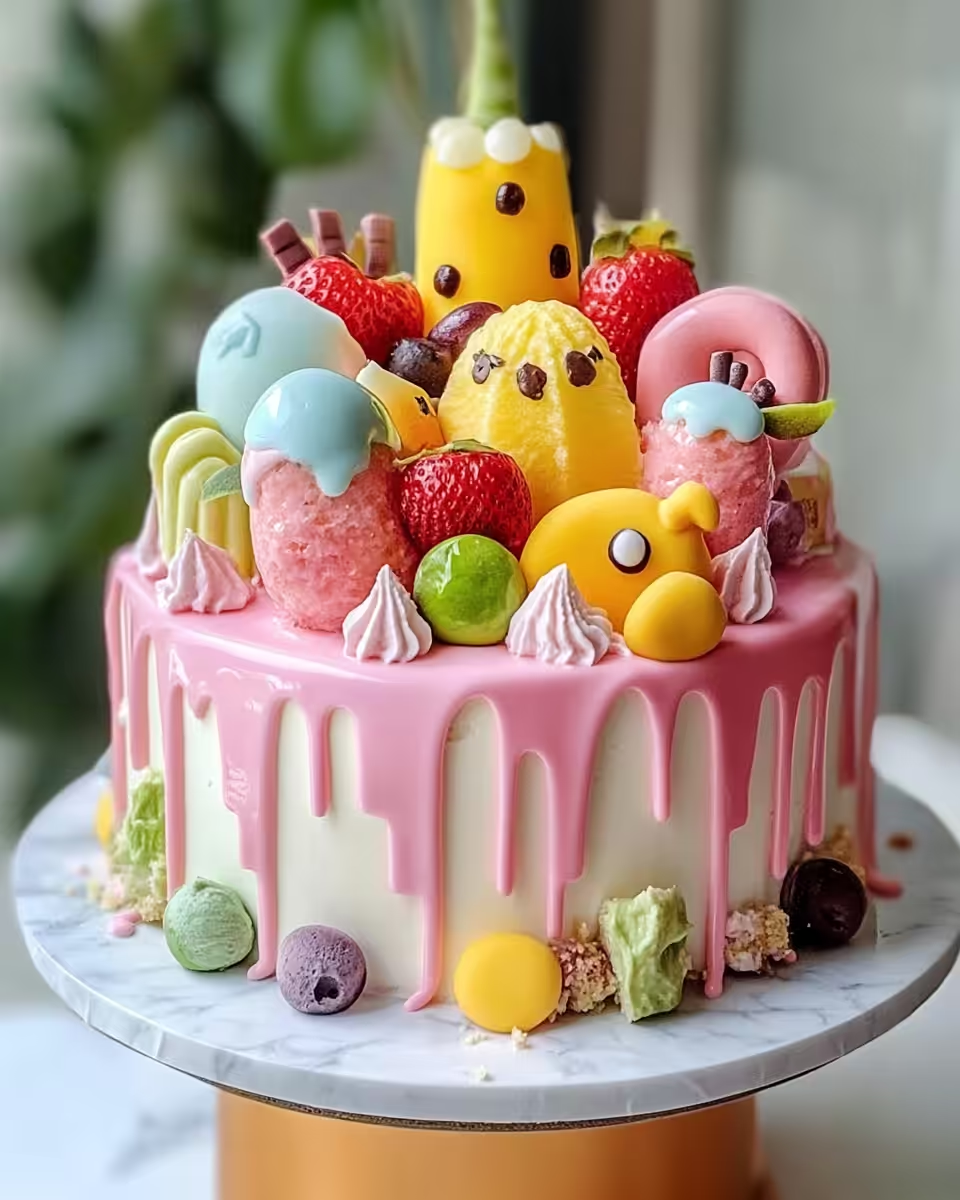
You recall how this recipe always turns out just right. Each time you sneak a peek, the colorful little bento cakes are rising, puffing up with promise. You feel excited, knowing soon you get to frost and dress up these trendy treats that taste as fun as they look.
Why This Recipe Works Every Single Time
- Simple ingredients that you usually keep on hand make it low fuss and quick.
- The steam cues in the pressure cooker ensure cakes stay moist and perfectly tender without guesswork.
- Using the quick release method at the right time keeps your cakes fluffy, not dense.
- Batter portions fit small pans or muffin tins perfectly for even cooking every batch.
- Easy whipped cream frosting can be colored or plain, making these treats versatile for any mood.
What Goes Into the Pot Today
- 1 cup all-purpose flour the base that gives your cake that soft crumb.
- ½ cup granulated sugar for that sweet kick you expect in every bite.
- ¼ cup unsalted butter, softened this adds richness and keeps it moist.
- ½ cup milk helps bring the batter together smooth and creamy.
- 1 egg the little binder that holds everything just right.
- 1 teaspoon vanilla extract for that cozy, warm flavor you love.
- 1 teaspoon baking powder makes your cakes rise with a perfect fluffy lift.
- ¼ teaspoon salt balances the sweetness and boosts flavor.
- ½ cup heavy cream plus 1 tablespoon powdered sugar for whipping up a dreamy frosting that you can color or keep classic.
- Food coloring and sprinkles or decorative toppers these are your fun add-ons for makin' these bento cakes as cute as can be.

Walking Through Every Single Move
First, you gotta preheat your oven to 350 degrees Fahrenheit. Line your muffin tin or small cake pans with parchment paper so nothing sticks later.
Next, grab a mixing bowl and cream together that softened butter and sugar. You’re lookin for it to get light and fluffy, kinda like a soft cloud.
Now toss in the egg and vanilla extract, mix real good so everything blends without lumps. You want smooth batter before moving on.
In another bowl, whisk your flour, baking powder, and salt. This dry mix is what’s gonna make the cake rise and taste just right.
Slowly add this dry mix to your wet stuff, alternating with the milk. Mix it all until you see a smooth, creamy batter with no streaks.
Divide the batter evenly into your prepared pans. Smooth the tops with a spatula so each cake bakes proudly even and pretty.
Bake these little guys for 20 to 25 minutes. You’ll know they’re set when a toothpick poked in comes out clean. Keep an ear out for that valve hiss when you release pressure so you don’t overcook.
Once out, let the cakes cool completely before you get to decorating. Nobody likes frosting that melts off the edges.
Easy Tweaks That Make Life Simple
Wanna speed things up? Use pre-whipped cream if you trust your grocery aisle. It works real good when you’re pressed for time.
Try mixing your dry ingredients ahead of time and stash in an airtight container. When you wanna bake, you just add wet stuff and you’re off.
If you’re feelin’ adventurous, swap some vanilla for almond or lemon extract. It changes the whole vibe with zero extra effort.
The Flavor Experience Waiting for You
Each bite is soft and tender, kinda fluffy but with a sweet buttery snap that makes it so cozy. You gonna wanna savor every crumb.
The whipped cream frosting adds a light breath of creaminess that melts easy on your tongue. Add that swirl of color and sprinkles and you got a treat that dances on your taste buds.
The vanilla and hint of salt build a warm blanket of flavor that feels comforting no matter the season. Simple ingredients but heaps of yummy personality.
You recall decorating these cakes got you smiling. They’re little edible canvases you can dress up however you like and they always steal the show at any gathering.
Smart Storage That Actually Works
If you made extra, keep your bento cakes in a covered container at room temp for up to two days. Just don’t forget them!
For longer life, pop ‘em in the fridge wrapped tight in plastic wrap. It keeps that tender pull in the cake without drying out your frosting.
Wanna save some for later? Freeze them in airtight bags, defrost overnight in the fridge, then bring back to room temp before serving so they taste fresh again.
Everything Else You Wondered About
- Can I use a different flour? You could try but all-purpose’s best for the right texture and rise.
- What’s the best way to do a quick release? Just carefully flip the valve to vent and listen for that hiss to stop before opening lid.
- Can I add fruit or mix-ins? Heck yes! Small fruit bits or chocolate chips can be folded in before baking.
- How long do I slow release? About 10 minutes is plenty for resting the cakes before opening up.
- Does the frosting hold up? It’s better fresh but keeps okay in fridge for a day or two if stored well.
- Can I double the recipe? Totally, just bake in batches so your pans aren’t overcrowded and the steam cues remain right.
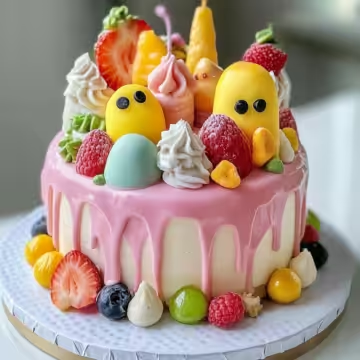
Bento Cake Ideas Make Your Own Trendy Treats
Equipment
- 1 Mixing bowl for combining ingredients
- 1 Whisk for mixing dry ingredients
- 1 Spatula for smoothing batter tops
- 1 Oven preheated to 350°F
- 1 Muffin tin or small cake pans lined with parchment paper
Ingredients
Main Ingredients
- 1 cup all-purpose flour the base that gives your cake that soft crumb
- ½ cup granulated sugar for that sweet kick you expect in every bite
- ¼ cup unsalted butter softened
- ½ cup milk helps bring the batter together smooth and creamy
- 1 egg the little binder that holds everything just right
- 1 teaspoon vanilla extract for that cozy, warm flavor you love
- 1 teaspoon baking powder makes your cakes rise with a perfect fluffy lift
- ¼ teaspoon salt balances the sweetness and boosts flavor
- ½ cup heavy cream plus 1 tablespoon powdered sugar for whipping up a dreamy frosting
- powdered sugar 1 tbsp, for whipping with cream
- food coloring optional, for decorating
- sprinkles or decorative toppers optional add-ons
Instructions
Instructions
- Preheat your oven to 350°F. Line your muffin tin or small cake pans with parchment paper.
- In a mixing bowl, cream together the softened butter and sugar until light and fluffy.
- Add the egg and vanilla extract, mixing well until smooth and fully combined.
- In another bowl, whisk together flour, baking powder, and salt.
- Gradually add the dry ingredients to the wet mixture, alternating with milk, and mix until smooth.
- Divide the batter evenly into prepared pans and smooth the tops with a spatula.
- Bake for 20 to 25 minutes or until a toothpick inserted comes out clean.
- Let cakes cool completely before decorating.
- Whip heavy cream with powdered sugar until stiff peaks form. Add food coloring if desired.
- Frost the cooled cakes with whipped cream.
- Decorate with sprinkles or toppings of your choice.